FlowHunt Desktop
FlowHunt Desktop is a powerful cross-platform application that enables batch processing, AI-powered workflow automation, and seamless integration with your Flow...
7 min read
Desktop App
Batch Processing
+6
Process dozens or hundreds of inputs through any flow at once — manually or via CSV import.
When you need to run a flow dozens or hundreds of times, doing it one by one through the chat window is not practical. Batch Runs solve this by letting you define all your inputs upfront and process them through the flow simultaneously. Whether you are generating product descriptions for an entire catalog, enriching a list of leads, or updating content across multiple URLs, Batch Runs turn a repetitive manual task into a single click.
Tip: Forget the chat output. Couple batch runs with integrations to fully automate your workflows. Output directly into WordPress, HubSpot or anywhere else so that you don’t have to copy the outputs manually.
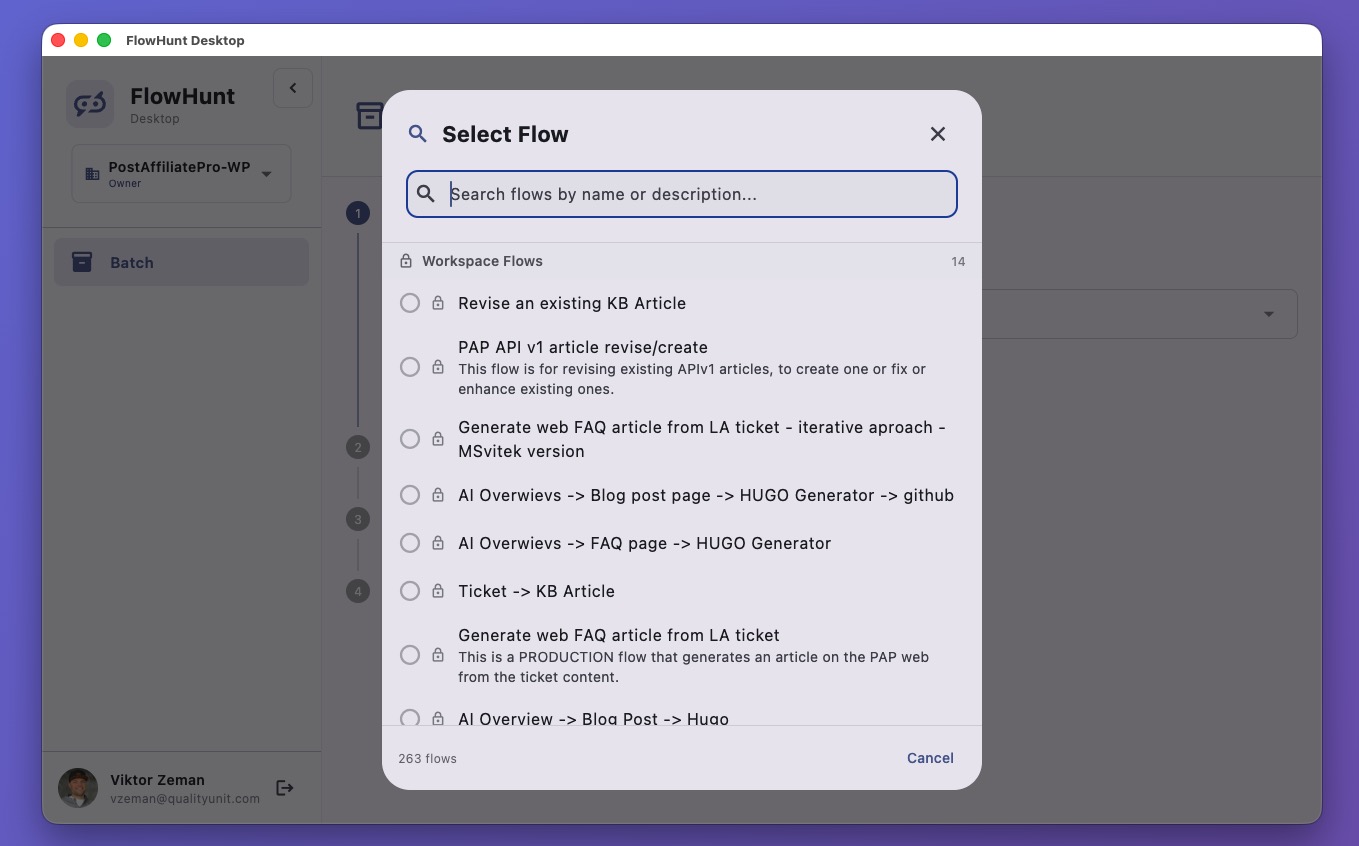
Batch Runs work with any flow. Here are a few examples of what you can do:
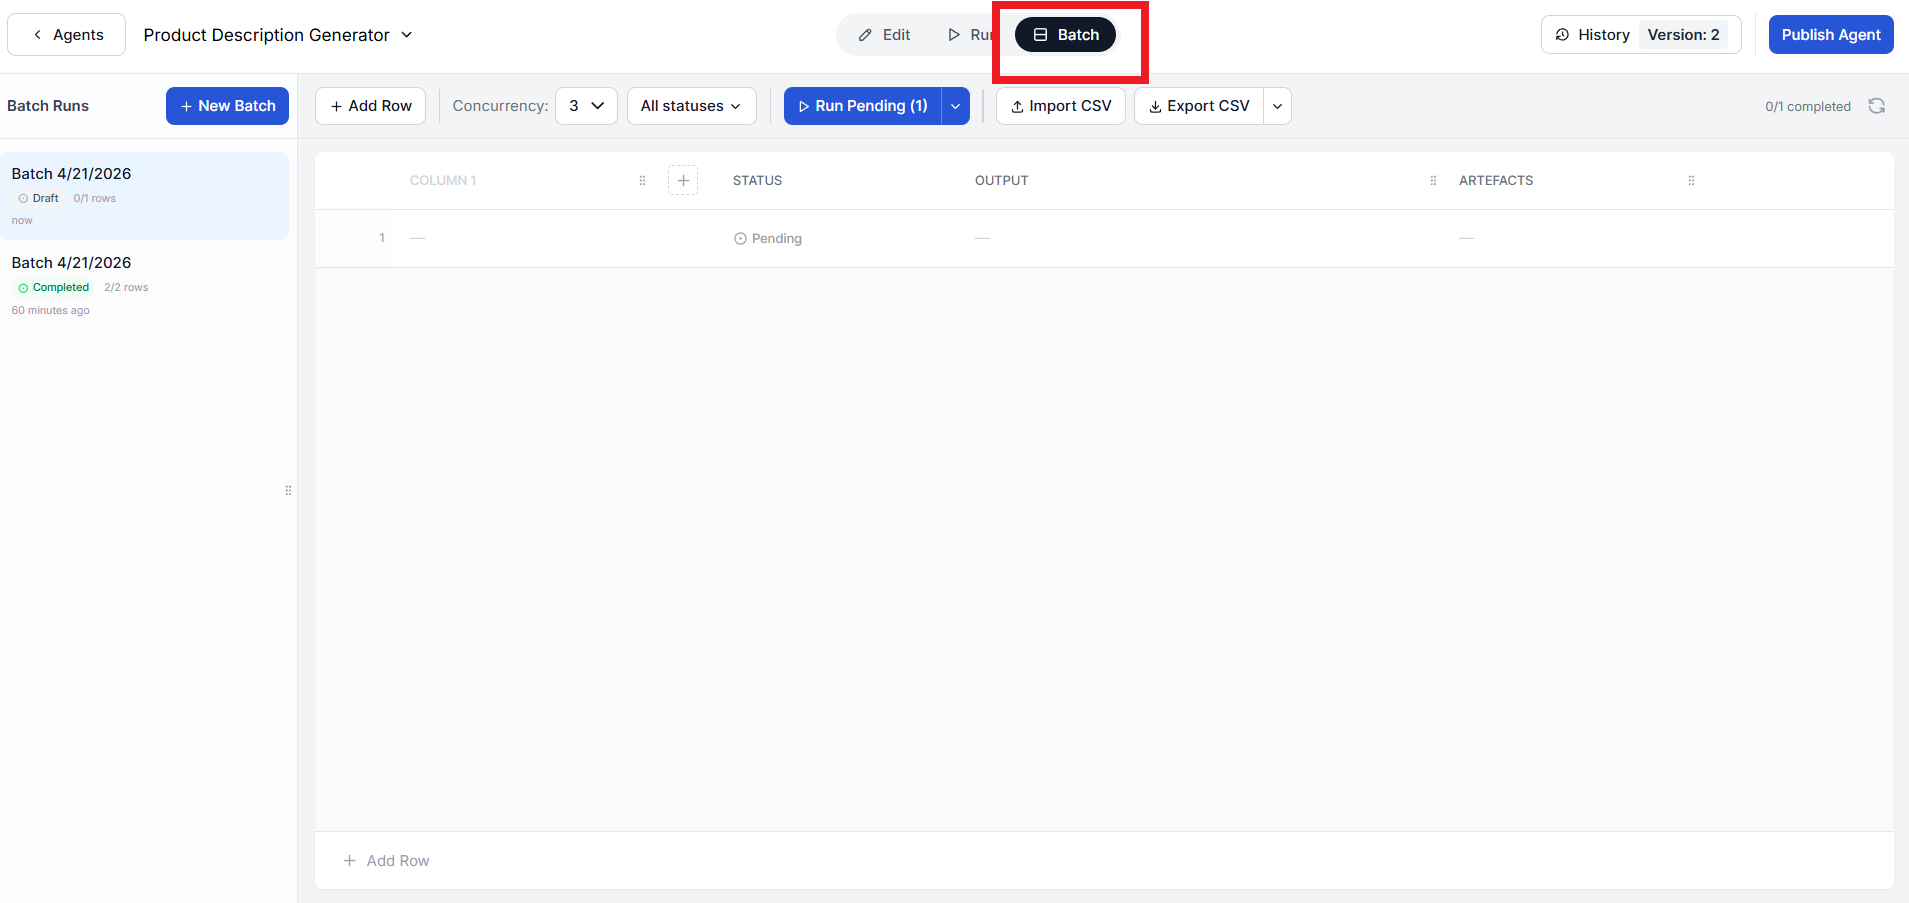
Navigate to the flow you want to run in batch. In the top navigation bar of the flow editor , click Batch. This opens the Batch Runs panel.
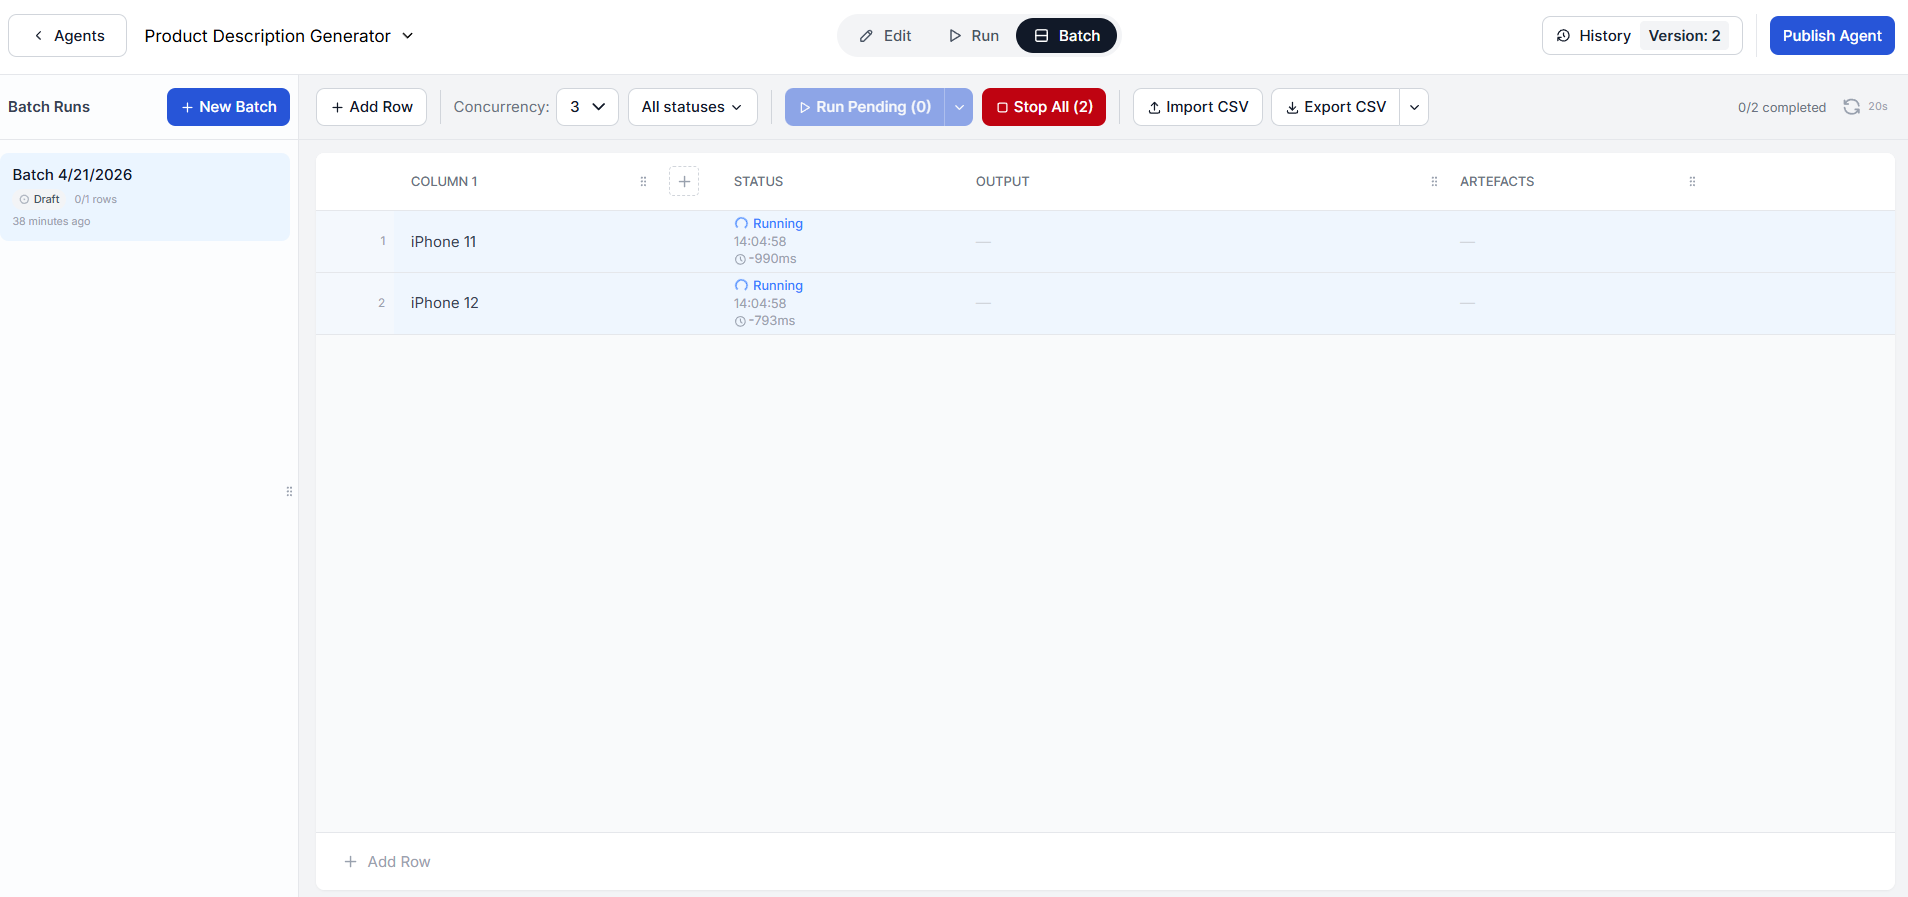
Batch Runs work by processing rows of inputs. Each row represents one execution of the flow. The inputs depend on what the flow expects as input.
For example, if you are using a product description generator, each row might contain a product name and key specifications like “iPhone 17 Pro Max 256GB Black”. If you are using a blog content improver, each row would contain the URL of an article you want to update.
You can add rows manually by typing directly into the input table, or you can import them in bulk as .csv.

If you already have your inputs in a spreadsheet, you do not need to type them one by one. Click the Import CSV button and select your file. FlowHunt will populate the input rows automatically, mapping the CSV columns to the flow’s input fields. This is especially useful when working with large datasets.
Before running, set the concurrency — the number of inputs that will be processed at the same time. The default is 3, which means three rows will run in parallel. You can increase this for faster throughput or decrease it if the flow relies on rate-limited external APIs.
Once your inputs are defined and concurrency is set, click Run Pending. You will see the rows start processing based on the concurrency level you configured. Rows that are waiting will show as pending, active rows will show as running, and completed rows will be marked as done.
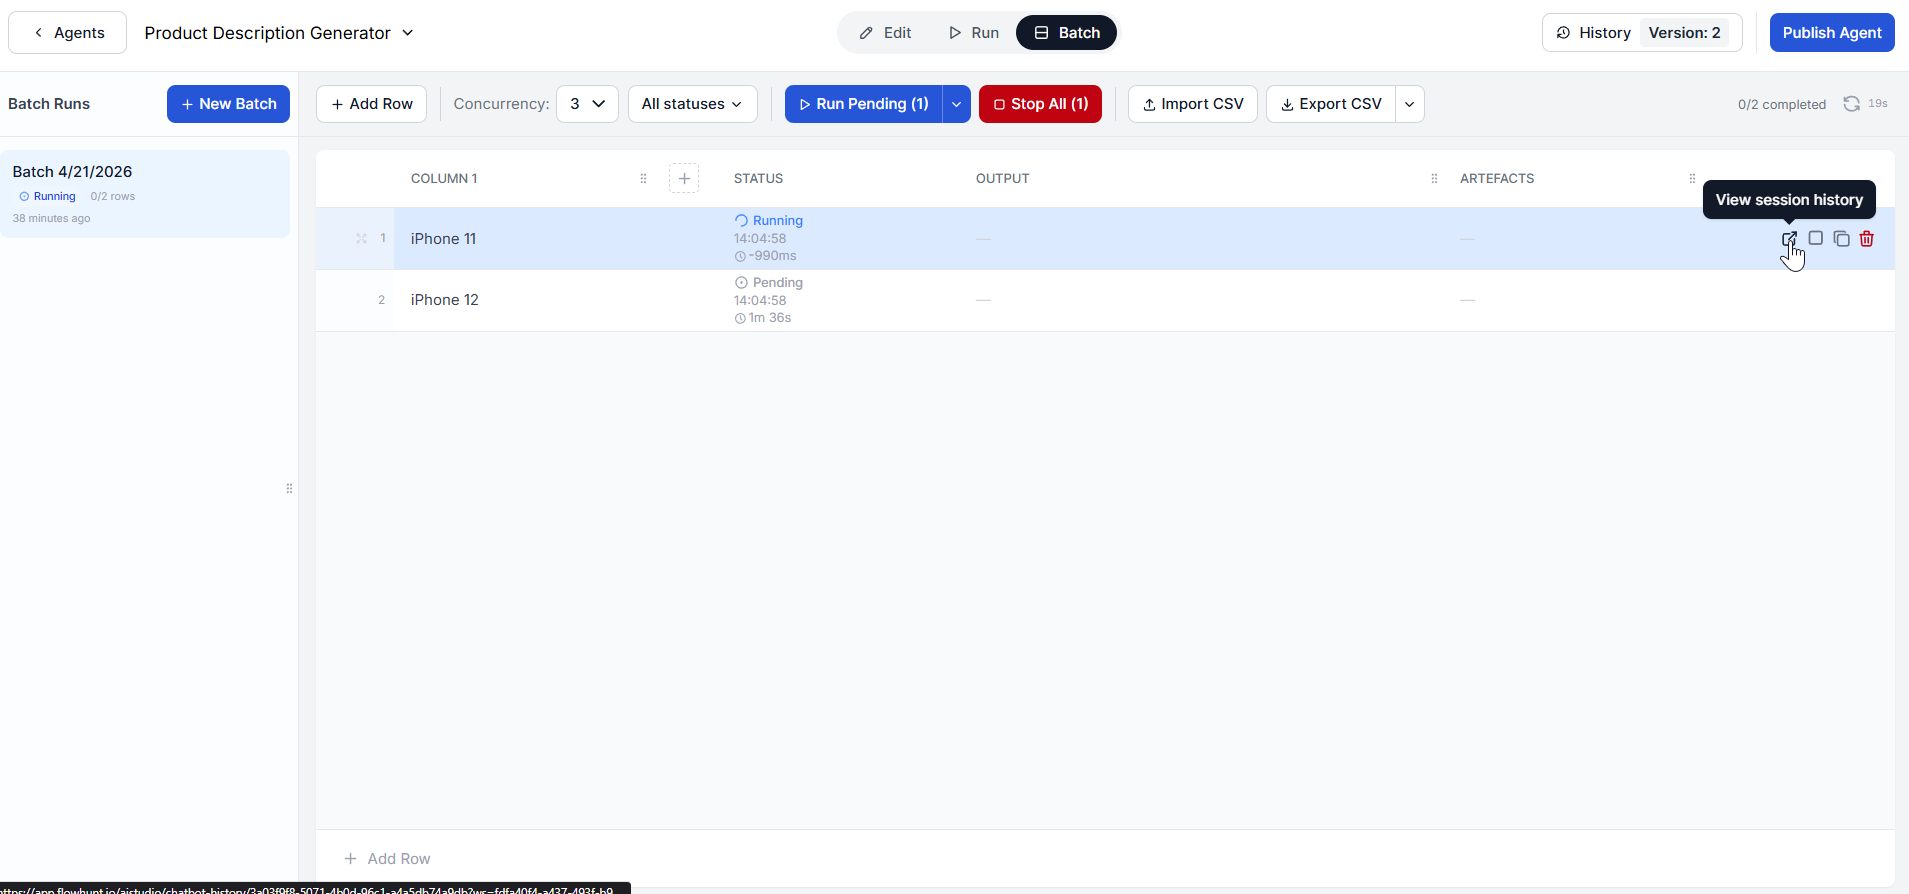
While the batch is running, you can check on the progress of individual rows at any time by hovering over the row and clicking “View session history”:
Once a run is completed, you’ll get to see the output artifacts for each row. These are the documents and data the flow produced for that input.
For example, in a product description generator flow, each completed row might produce several artifacts: the final product description, a product research summary, a competition comparison, and an SEO analysis. Simpler flows will output just the final result.
If a run fails or you’re not happy with the output, investigate it via the “View session history”. You can duplicate and adjust the row or retry it. Both of these options will be revealed on hover.
All your batch runs for a flow are saved in the batch history. They are not removed when you close the editor or navigate away. You can always come back to a flow and review the results of any previous batch.
When you are ready to process a new set of inputs, click + New Batch and repeat the process. Your previous batches remain accessible in the history alongside the new one.
Sign up for free and start running batch workflows with FlowHunt — no coding required.
FlowHunt Desktop is a powerful cross-platform application that enables batch processing, AI-powered workflow automation, and seamless integration with your Flow...
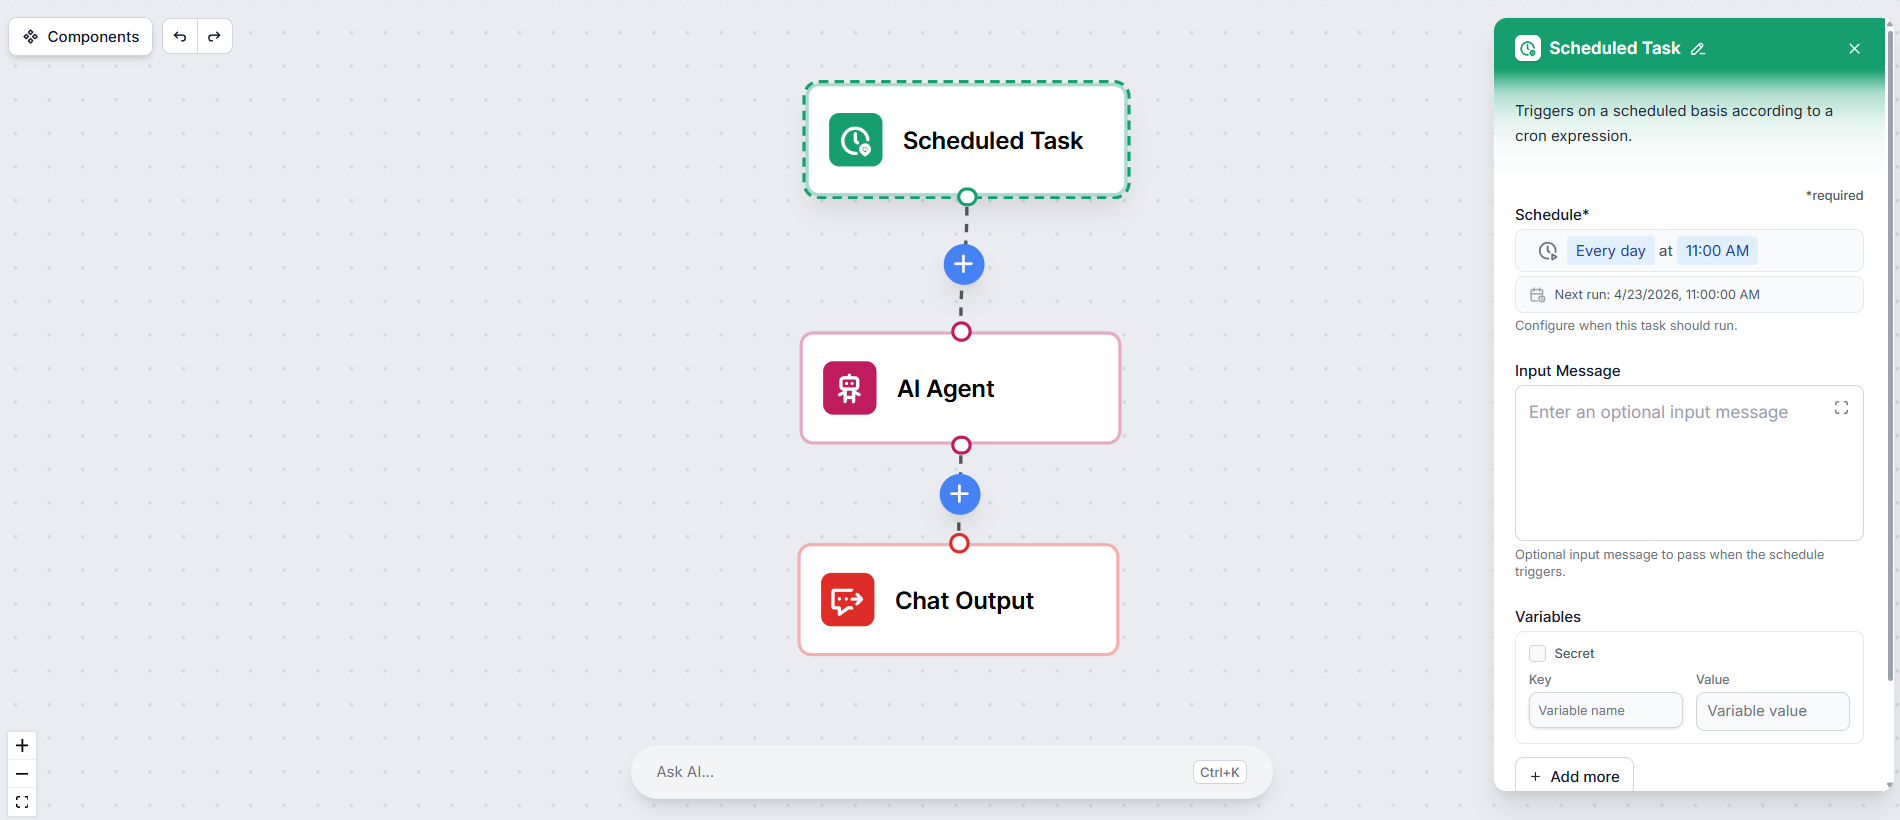
Learn how to use the Scheduled Task component in FlowHunt to run your workflows automatically on a defined schedule — no manual triggering required.
Separate team workspaces, easily collaborate and integrate with other apps. Learn how to make the best of your Workspace.
Cookie Consent
We use cookies to enhance your browsing experience and analyze our traffic. See our privacy policy.