Model Context Protocol (MCP) Server
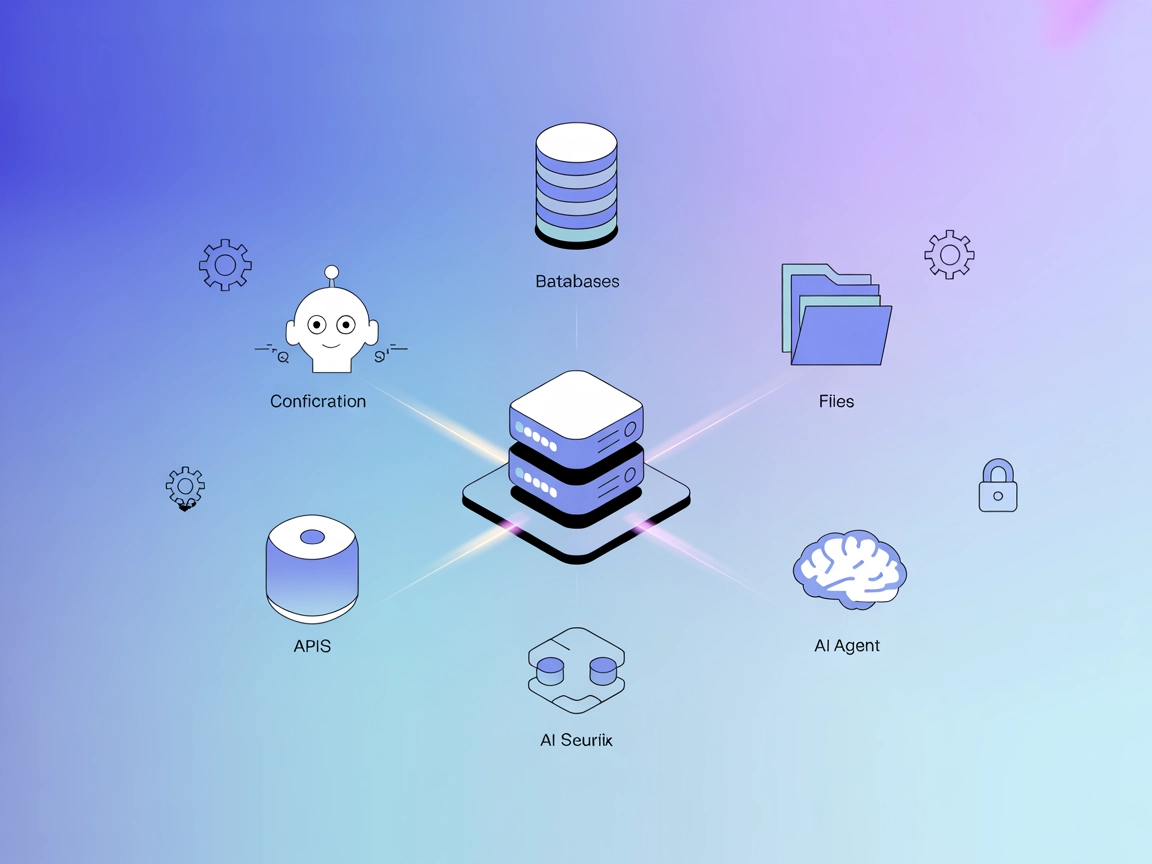
The Model Context Protocol (MCP) Server bridges AI assistants with external data sources, APIs, and services, enabling streamlined integration of complex workfl...
3 min read
AI
MCP
+4
Connect your own MCP server to FlowHunt by adding the MCP Client as a tool to your AI Agent.
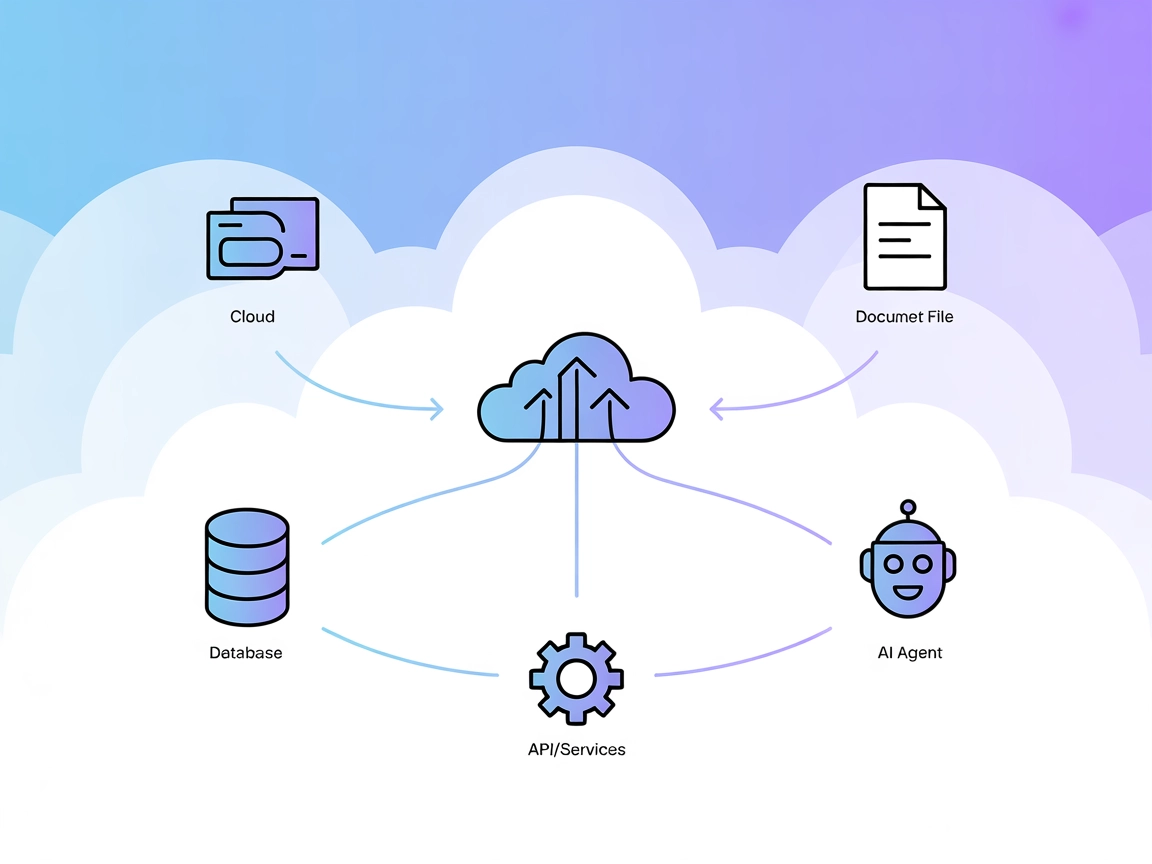
MCP (Model Context Protocol) is an open standard that gives AI agents a common language to communicate with external tools, databases, and services. Instead of building a custom connector for every tool, any service that exposes an MCP server can plug straight into an AI agent and the agent will discover what it can do automatically.
FlowHunt gives you several ways to work with MCP:
In the flow editor , click on the AI Agent (or Deep Agent) component you want to give access to your MCP server. This opens the component’s settings panel.
In the agent settings, find the Tools section and click + Add Tool. A search field will appear — type MCP Client and select it from the results.
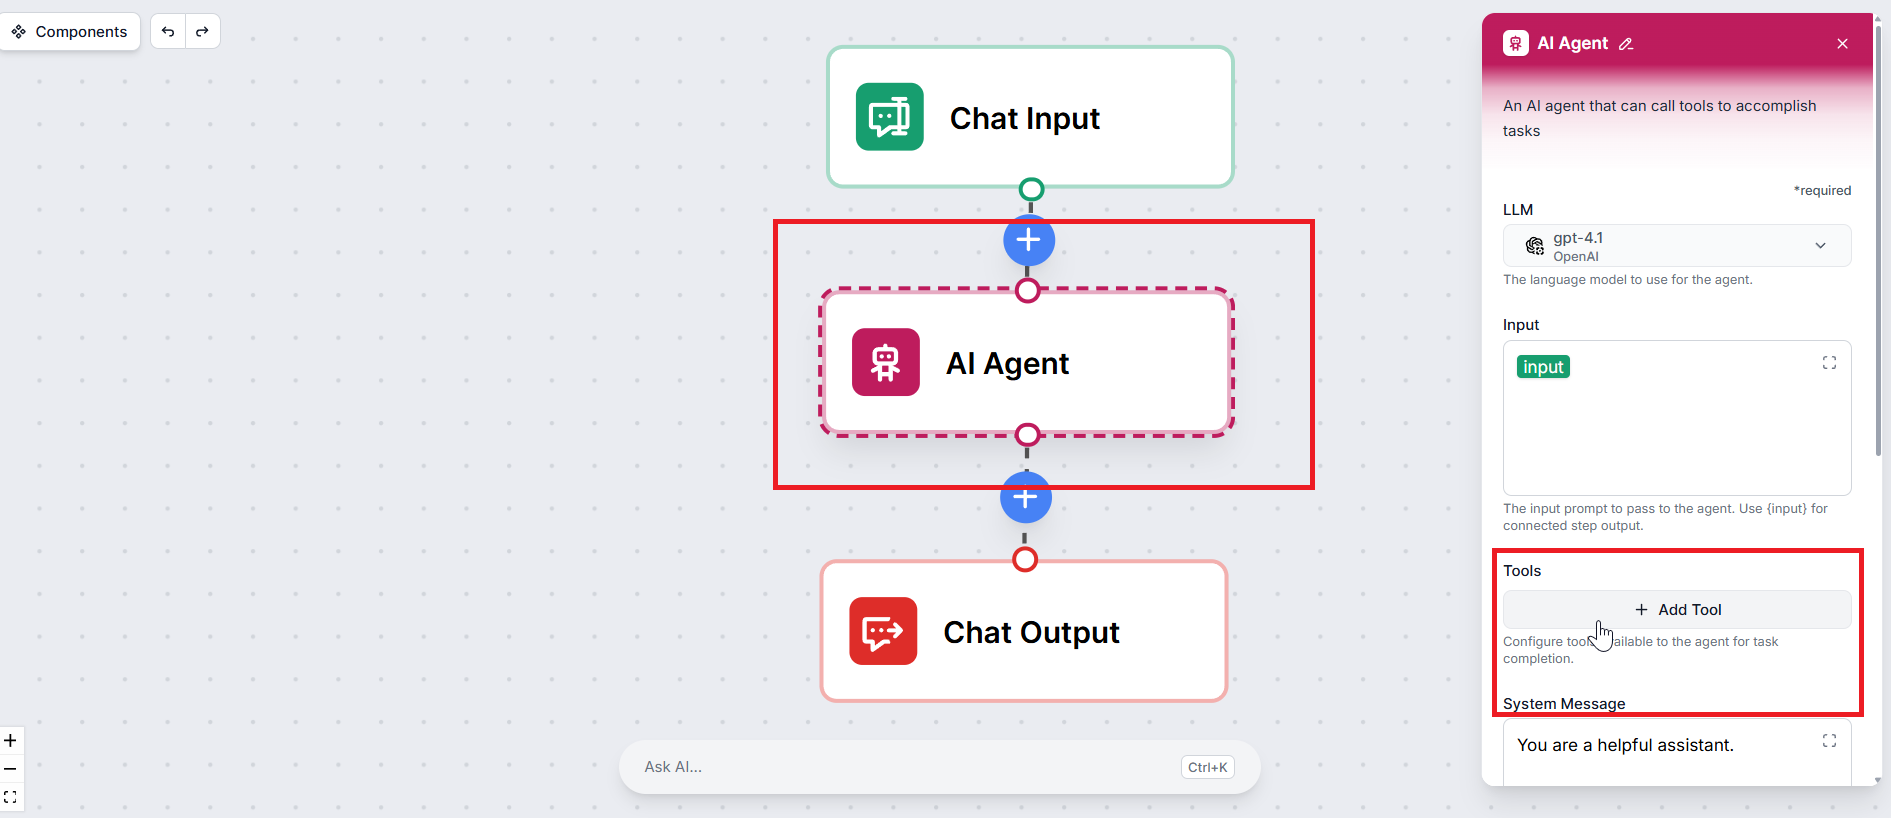
A tool configuration pop-up will appear. Click Edit Servers to open the server configuration panel.

Provide the following:
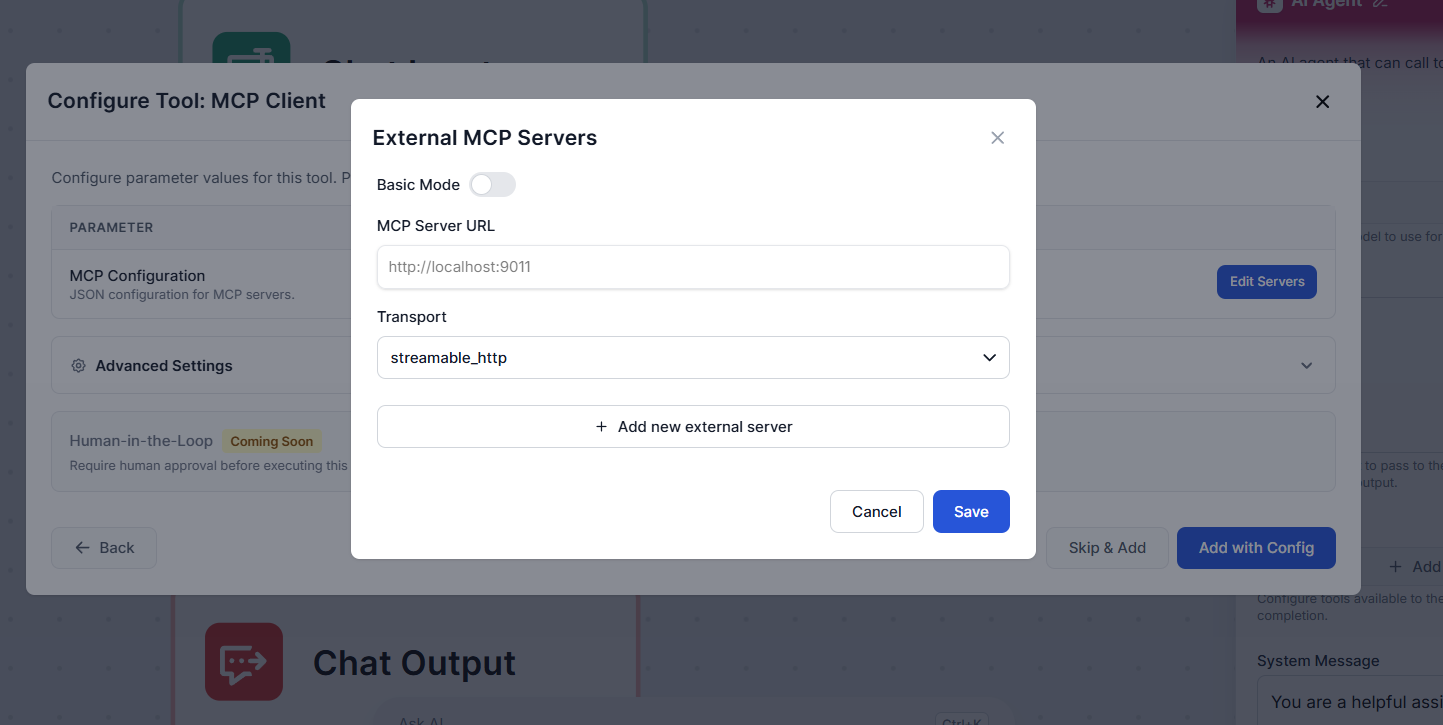
If your server requires additional configuration, such as custom request headers, authentication tokens, or OAuth credentials, switch the mode from Basic to Advanced. This exposes a JSON editor where you can provide any additional fields your server needs.
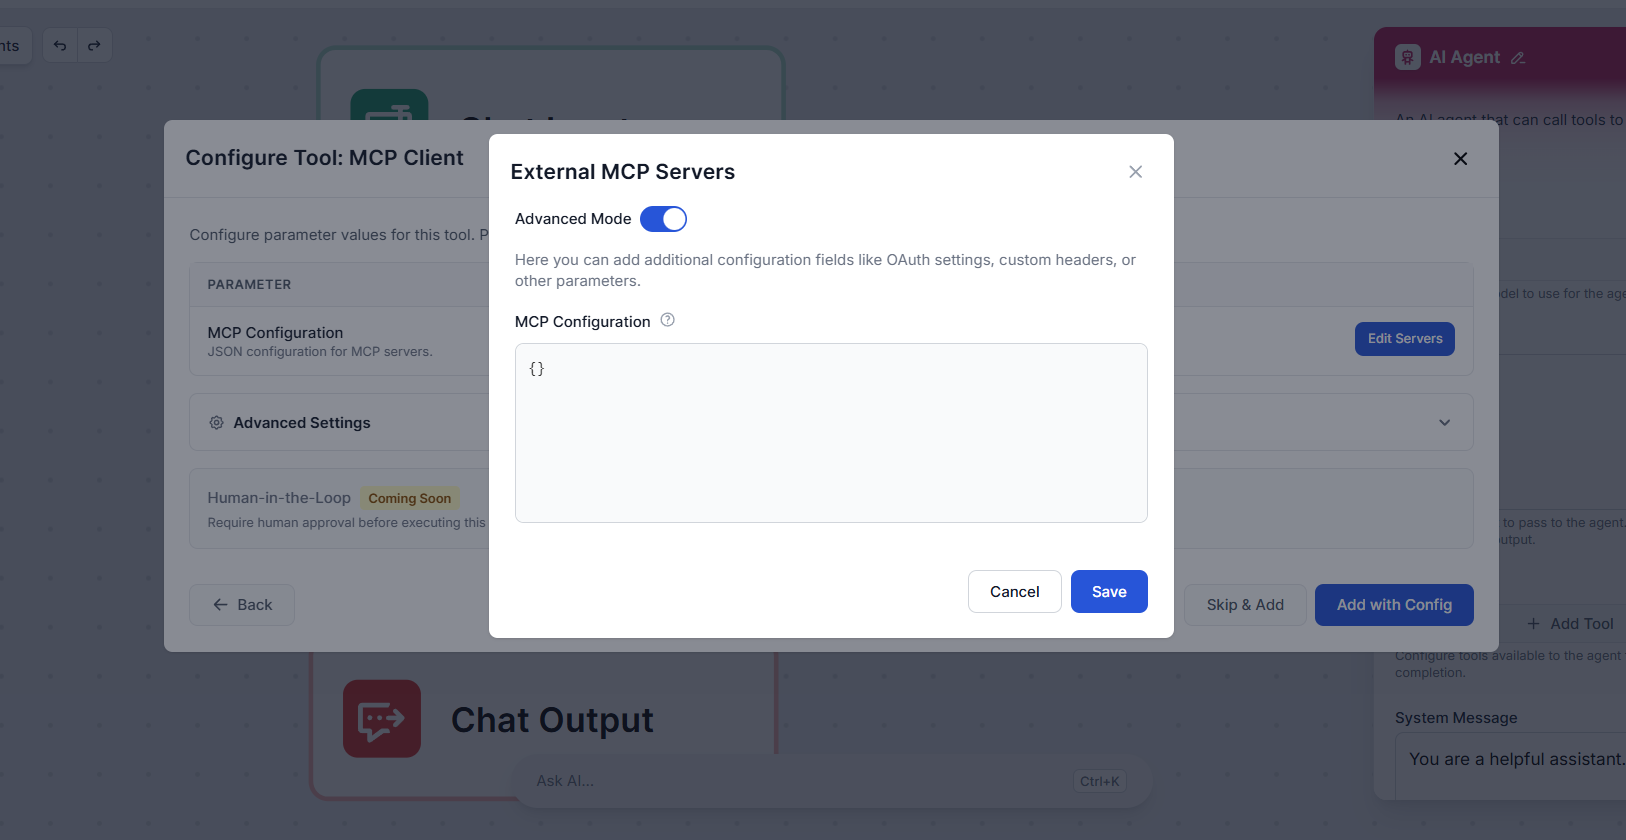
Once you’re done, click Save.
Back in the tool configuration pop-up, expand Advanced Settings. Here you can optionally give the tool a custom name and description. This helps the agent understand what the tool does and when to use it — which can improve how reliably the agent calls it during a workflow.
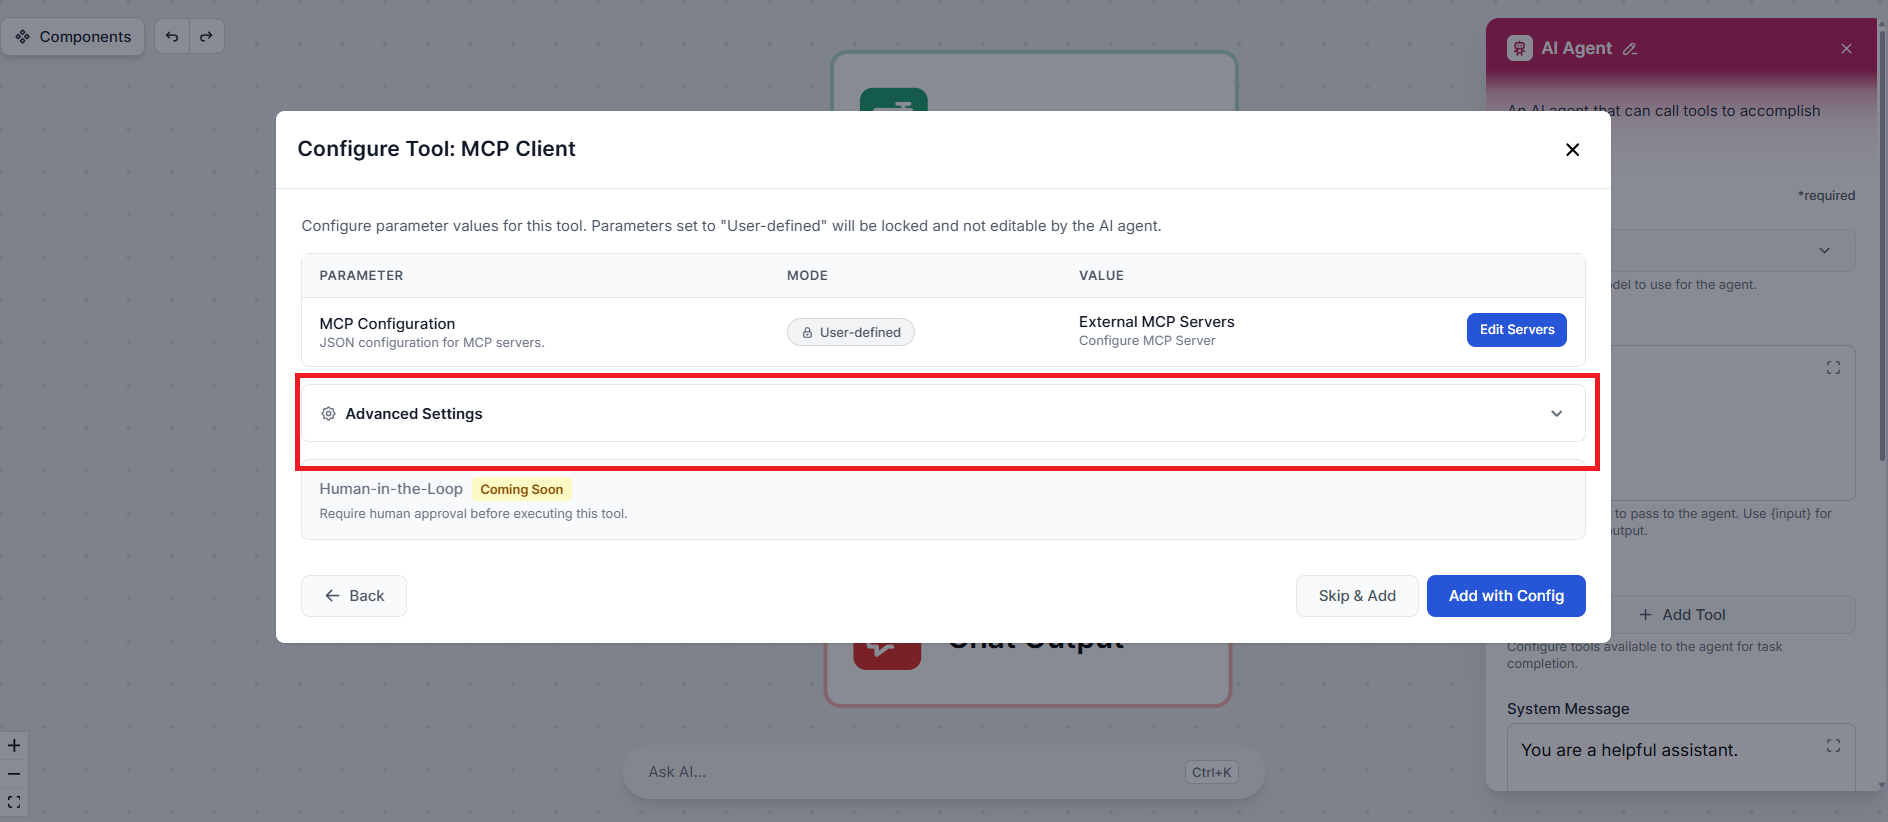
Click Add with Config to finalize the setup. The MCP Client is now attached to your AI Agent as a tool.
That’s it. Your AI Agent can now discover and call the tools exposed by your MCP server as part of any workflow. When the agent determines that a task requires one of those tools, it will call the server automatically — no additional configuration needed.
Our team can develop and host a custom MCP server tailored to your tools and workflows.
The Model Context Protocol (MCP) Server bridges AI assistants with external data sources, APIs, and services, enabling streamlined integration of complex workfl...

The edwin MCP Server bridges AI assistants and external data sources, APIs, and services, enabling smarter, context-aware agents in FlowHunt by exposing resourc...
The ModelContextProtocol (MCP) Server acts as a bridge between AI agents and external data sources, APIs, and services, enabling FlowHunt users to build context...
Cookie Consent
We use cookies to enhance your browsing experience and analyze our traffic. See our privacy policy.