Model Context Protocol (MCP) Server
The Model Context Protocol (MCP) Server bridges AI assistants with external data sources, APIs, and services, enabling streamlined integration of complex workfl...
3 min read
AI
MCP
+4
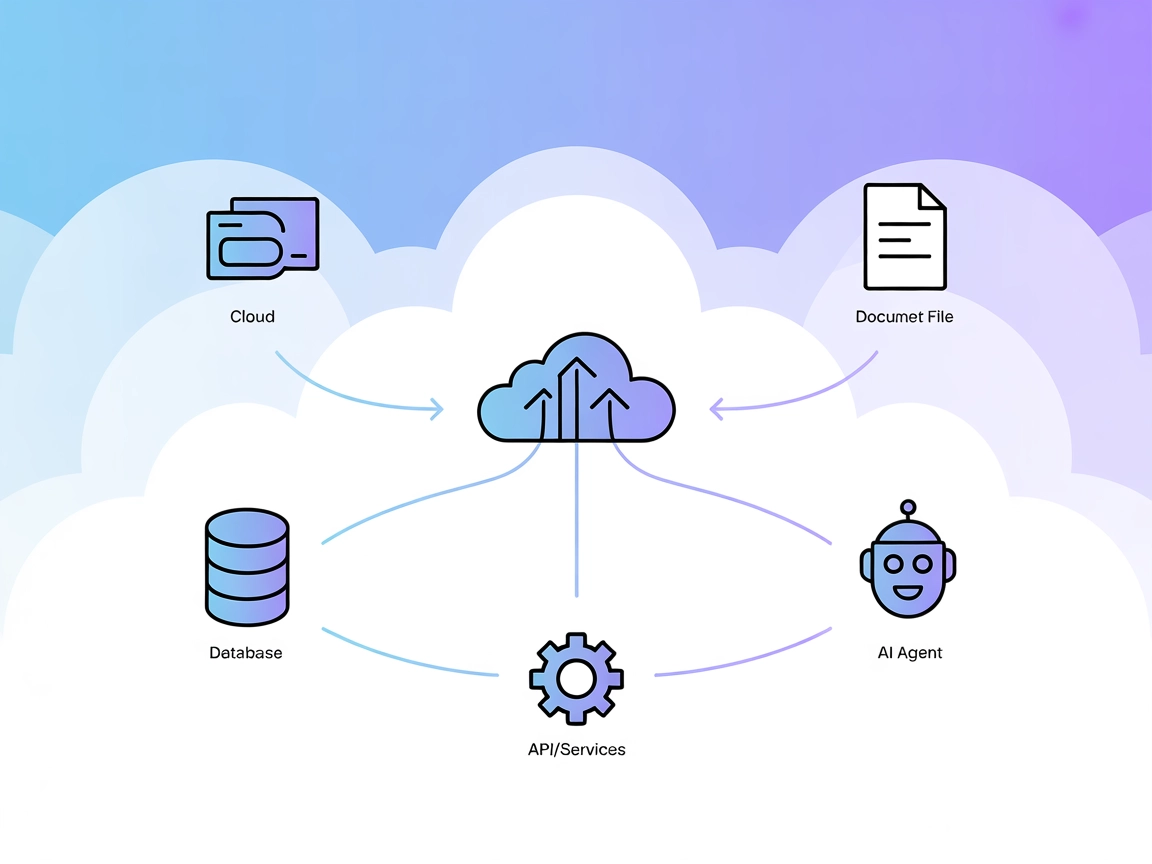
Opik MCP Server streamlines your AI workflow by connecting your IDE or client tools with Opik’s unified capabilities—project management, prompt access, trace exploration, and metrics—all in one place.
FlowHunt provides an additional security layer between your internal systems and AI tools, giving you granular control over which tools are accessible from your MCP servers. MCP servers hosted in our infrastructure can be seamlessly integrated with FlowHunt's chatbot as well as popular AI platforms like ChatGPT, Claude, and various AI editors.
The Opik MCP (Model Context Protocol) Server is a connector that integrates the Opik platform with various development environments and IDEs, providing AI assistants with seamless access to Opik’s unified interface and capabilities. By implementing the MCP standard, Opik MCP Server enables AI-powered workflows to interact with external data sources and services, such as retrieving prompts, managing projects, accessing traces, and gathering metrics. This streamlines development processes by allowing tasks like prompt management, project navigation, trace exploration, and metrics analysis directly from your IDE or AI client, fostering a more context-aware and efficient development experience.
No explicit prompt templates are listed in the available repository files or documentation.
Start your free trial today and see results within days.
No explicit resources are listed in the available repository files or documentation.
No explicit tools are detailed in the available repository files or documentation (such as server.py or similar entry point).
Get latest tips, trends, and deals for free.
mcpServers configuration block:{
"mcpServers": {
"opik-mcp": {
"command": "npx",
"args": ["@comet-ml/opik-mcp@latest"]
}
}
}
Securing API Keys (example):
{
"mcpServers": {
"opik-mcp": {
"command": "npx",
"args": ["@comet-ml/opik-mcp@latest"],
"env": {
"OPIK_API_KEY": "${OPIK_API_KEY}"
},
"inputs": {
"apiKey": "${OPIK_API_KEY}"
}
}
}
}
{
  "mcpServers": {
    "opik-mcp": {
      "command": "npx",
      "args": ["@comet-ml/opik-mcp@latest"]
    }
  }
}
Securing API Keys (example as above).
{
  "mcpServers": {
    "opik-mcp": {
      "command": "npx",
      "args": ["@comet-ml/opik-mcp@latest"]
    }
  }
}
Securing API Keys (example as above).
{
  "mcpServers": {
    "opik-mcp": {
      "command": "npx",
      "args": ["@comet-ml/opik-mcp@latest"]
    }
  }
}
Securing API Keys (example as above).
Using MCP in FlowHunt
To integrate MCP servers into your FlowHunt workflow, start by adding the MCP component to your flow and connecting it to your AI agent:

Click on the MCP component to open the configuration panel. In the system MCP configuration section, insert your MCP server details using this JSON format:
{
  "opik-mcp": {
    "transport": "streamable_http",
    "url": "https://yourmcpserver.example/pathtothemcp/url"
  }
}
Once configured, the AI agent is now able to use this MCP as a tool with access to all its functions and capabilities. Remember to change “opik-mcp” to whatever the actual name of your MCP server is and replace the URL with your own MCP server URL.
| Section | Availability | Details/Notes |
|---|---|---|
| Overview | ✅ | Brief overview provided |
| List of Prompts | ⛔ | Not listed in repo/docs |
| List of Resources | ⛔ | Not listed in repo/docs |
| List of Tools | ⛔ | Not listed in repo/docs |
| Securing API Keys | ✅ | Examples given in setup section |
| Sampling Support (less important in evaluation) | ⛔ | Not mentioned |
Based on the available documentation and repository content, the Opik MCP Server offers a solid integration for IDEs but lacks explicit documentation for prompts, resources, and tools within the repository. The setup process is clear and securing API keys is supported. Given the absence of detailed protocol features, this MCP server is functional for Opik use cases but may need more documentation for advanced MCP capabilities.
| Has a LICENSE | ✅ (Apache-2.0) |
|---|---|
| Has at least one tool | ⛔ |
| Number of Forks | 11 |
| Number of Stars | 90 |
Rating:
I would rate this MCP server a 5/10. The implementation is clear and useful for Opik platform integration, but the lack of explicit prompts, resources, or tool documentation prevents it from being a robust, general-purpose MCP server according to the protocol’s full specification.
The Opik MCP Server is a connector that enables seamless integration between the Opik platform and development environments or AI assistants, providing unified access to prompts, project management, trace analysis, and metrics directly from your IDE or workflow tool.
Follow the setup instructions for your specific client (Windsurf, Claude, Cursor, or Cline). Add the Opik MCP server configuration to your client’s config file, restart the application, and ensure API keys are secured using environment variables.
It allows you to manage prompts, navigate projects, inspect execution traces, and retrieve project metrics from the Opik platform—all inside your development environment for an efficient, context-aware workflow.
No explicit prompt templates, resources, or tools are provided in the current Opik MCP Server documentation or repository. Its main value is seamless Opik integration and workflow enhancement.
Yes, the Opik MCP Server is released under the Apache-2.0 license, with 11 forks and 90 stars as of the latest update. It is actively maintained but could benefit from further documentation around prompts and tools.
Integrate the Opik MCP Server to unlock seamless AI-powered workflows inside your favorite development environment. Centralize prompt management, project navigation, and more—right from your IDE.
The Model Context Protocol (MCP) Server bridges AI assistants with external data sources, APIs, and services, enabling streamlined integration of complex workfl...
The OpenAPI MCP Server connects AI assistants with the ability to explore and understand OpenAPI specifications, offering detailed API context, summaries, and e...
The Odoo MCP Server enables seamless interaction between AI tools and Odoo ERP systems, allowing automated workflows to manage and query business data directly ...
Cookie Consent
We use cookies to enhance your browsing experience and analyze our traffic. See our privacy policy.