Instagram Post Generator: Create 30 Posts in One Session
A practical walkthrough of FlowHunt’s Instagram Post Generator. From planning your topics to reviewing captions, hashtags, and images for a full month of posts.
Thirty Instagram posts usually means thirty separate sessions of staring at a blank caption box, wondering what the image should even look like. This tutorial collapses that into one sitting, walking you through FlowHunt’s Instagram Post Generator
end to end using only what the tool actually does — one topic in, an image and caption out. For the broader case for batching a month of content and the reasoning behind it, see how to batch create a month of Instagram content with AI
.
What You Need Before Starting
Before your first session, have two things ready:
A list of topics, not just one. Since each run of the tool works from a single topic, generating a month of posts means generating a month of topics first. Pulled from your content pillars, a calendar, or whatever you’re already using.
A short written sense of your brand voice, even a few bullet points. You can set this up once inside the flow itself so it applies automatically to every future session (Step 1 covers how) — but even for a single session, having it written down means you’re not deciding your tone from scratch on every post.
No account setup beyond FlowHunt itself, and no separate image tool to configure. The Instagram Post Generator handles the image and the copy from the same input.
Step 1: Define Your Content Pillars and Brand Voice
This step happens before you open the tool, not inside it — get both pieces sorted first, since the quality of what you generate in Step 2 depends entirely on what you feed in here.
Turn each pillar into specific topics. A pillar like “educational” isn’t a topic the tool can generate from. It’s too broad to engineer a useful image prompt or caption around. Break every pillar down into individual, concrete topics before your session. “Educational” might become “3 tips for X,” “the mistake most beginners make with Y,” and “how to choose between A and B.” Do this for each pillar you’re covering, and by the time you sit down to generate, you should have a full written list of specific topics.
Set your brand voice — for one session, or permanently. For a single session, the fastest option is folding a tone descriptor directly into how you phrase each topic. For a setup that applies automatically to every future session instead of repeating this every time, either edit the AI agent’s prompt directly to include your brand voice notes, or attach a Knowledge Source document with your written brand guidelines and instruct the agent to follow it. Save the flow, and every future run through it applies your voice automatically, without you re-entering anything.
Ready to grow your business?
Start your free trial today and see results within days.
Step 2: Enter Your Topics and Generate Post Variations
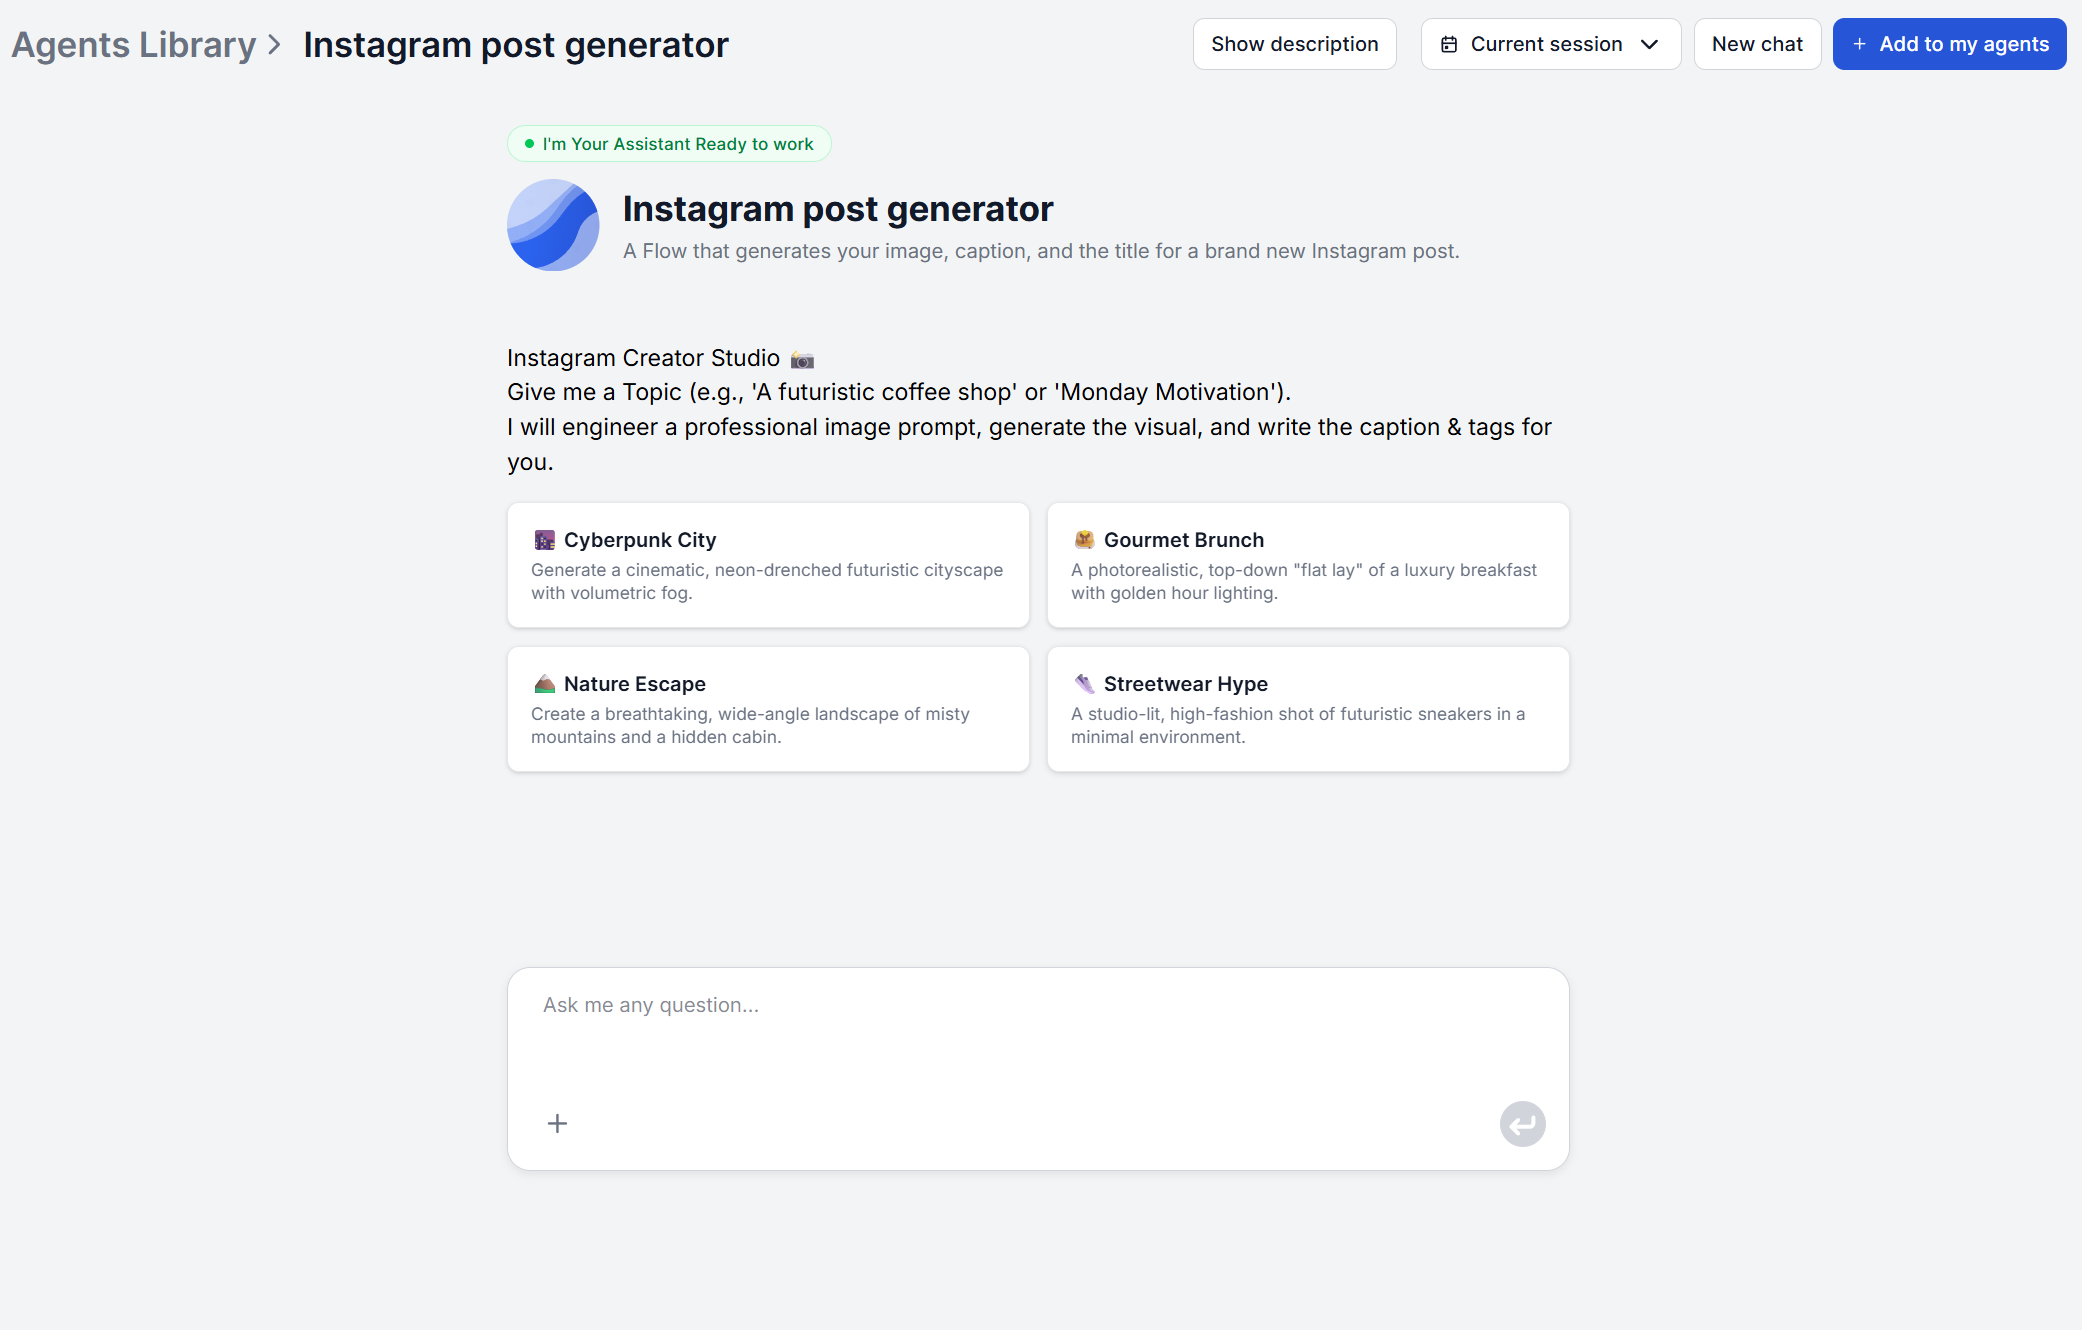
Open the Instagram Post Generator
and type your first topic into the chat interface. Try to be as specific as possible. From that single input, the tool runs two tracks at once. It engineers a detailed image prompt (subject, visual style, lighting, composition) and sends it to the image generator, while writing the final caption in parallel.
If a specific result doesn’t land, you can ask again in the same chat for a different angle before moving to your next topic, the same way you’d steer any chat-based FlowHunt tool.
Step 3: Review and Customize Captions
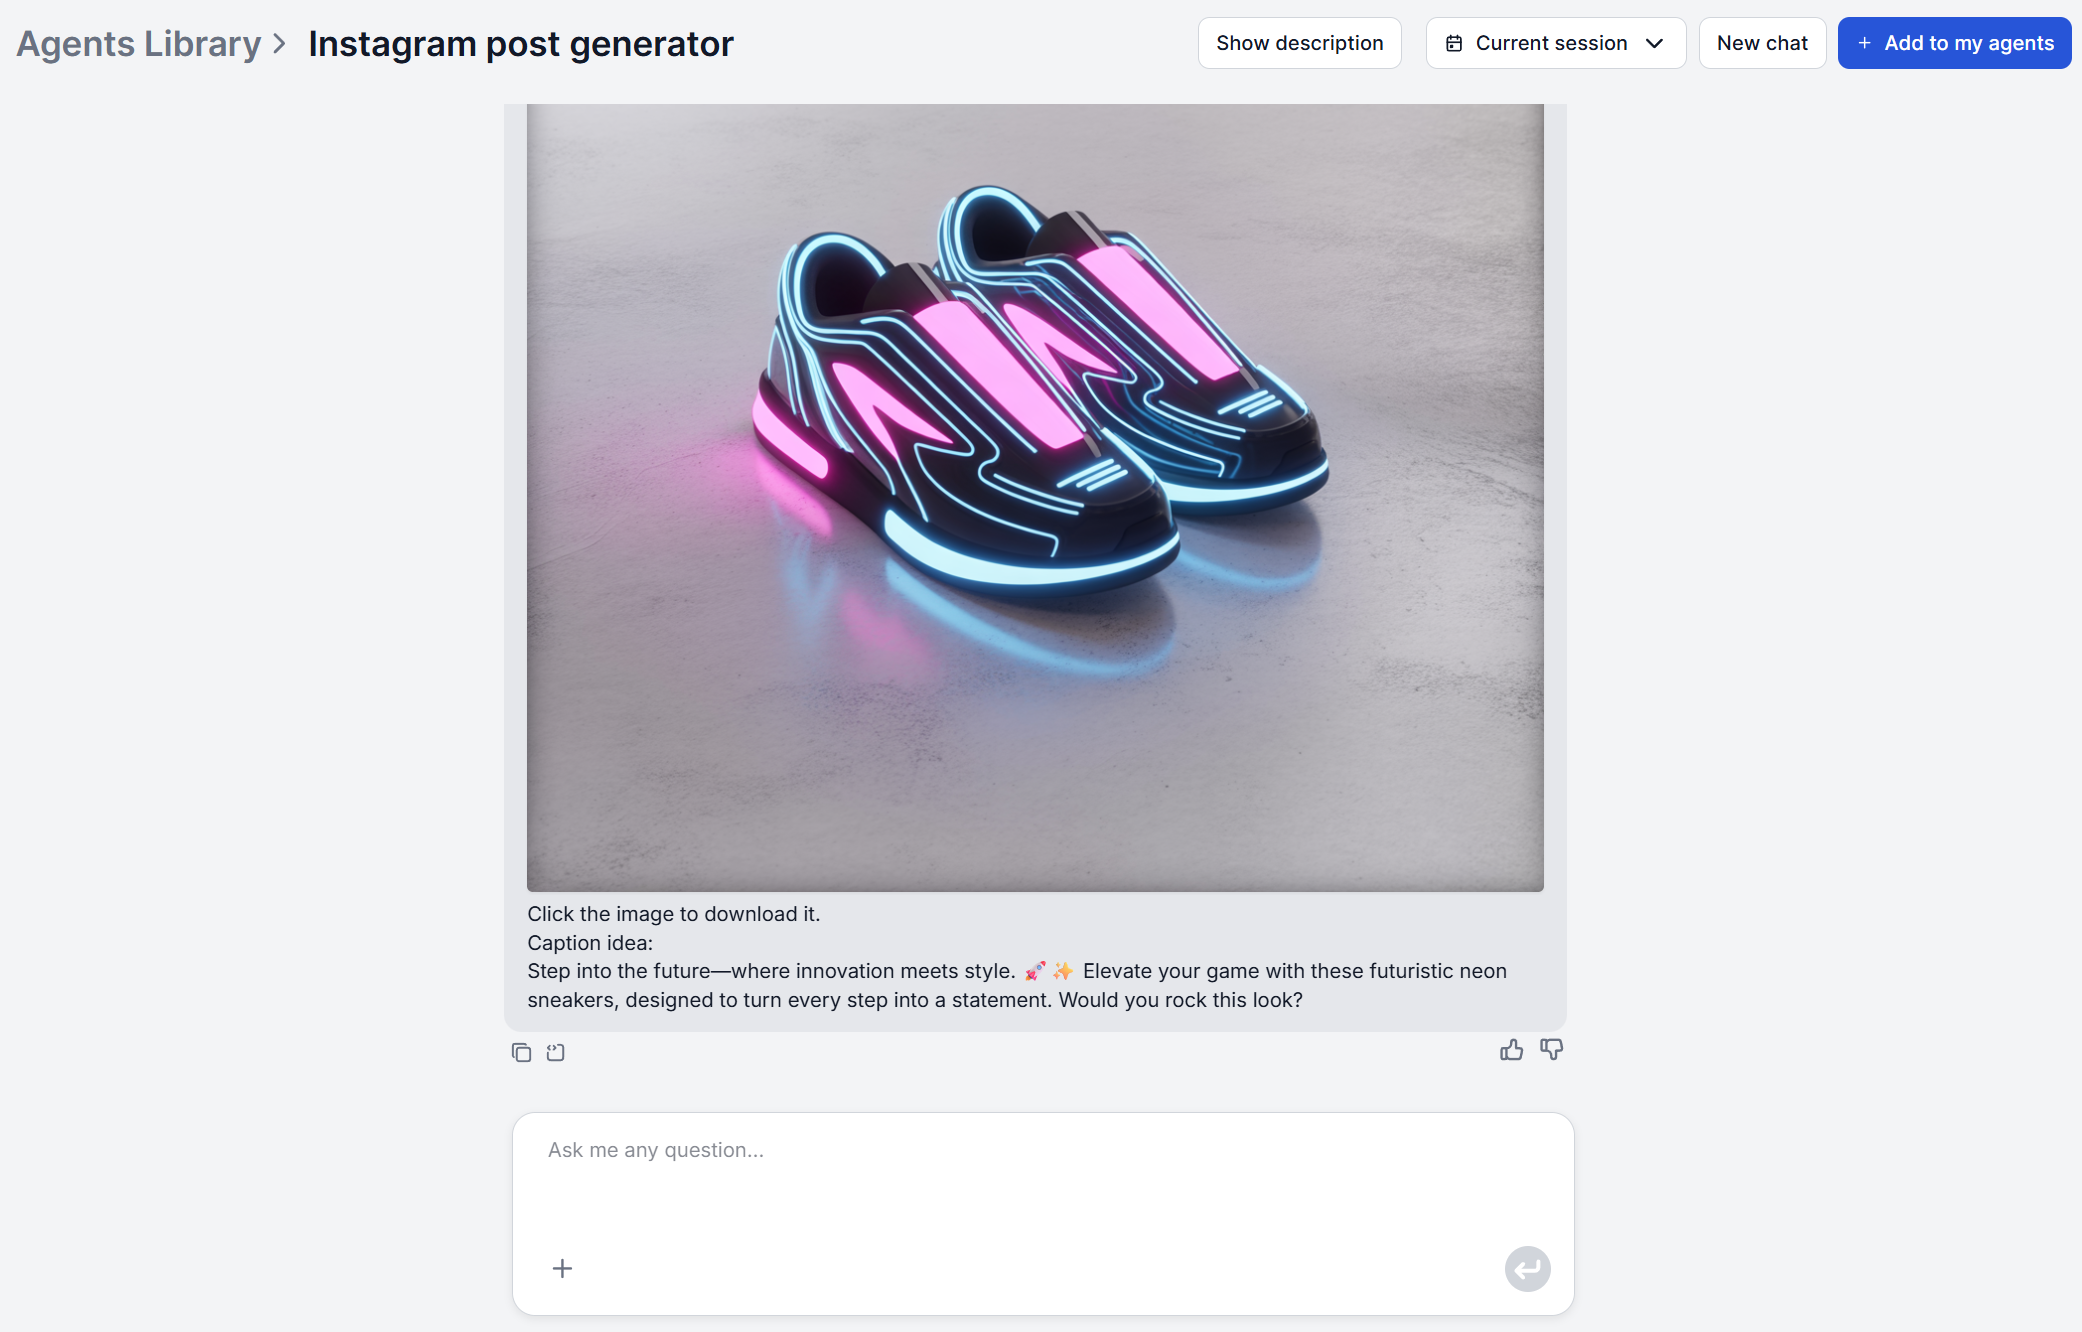
Each run returns a headline hook, 2–3 paragraphs of body copy with emojis, a generated image, a set of hashtags, and a short note describing the visual style used. Read the caption before moving on. Treat it as a strong first draft, not a finished output. Swap phrasing that sounds generic for how you’d actually say it, and keep the note on visual style so your next topic can deliberately match or intentionally break from it, rather than repeating the same look by accident.
Join our newsletter
Get latest tips, trends, and deals for free.
Step 4: Add Hashtag Sets for Each Post
The hashtags are already a part of the output generated alongside the caption. The tool gives you 15–20 relevant, high-traffic tags per post. Your job here is narrowing it down to a maximum of 5. Instagram enforces a hard 5-hashtag limit per post or Reel, so treat the generated list as a shortlist and pick the 3–5 most specific to that individual post rather than pasting in the full set.
Step 5: Export to Your Scheduling Tool
There’s no export button built into the Post Generator’s chat interface itself, but you have three real ways to get finished posts out. The simplest: copy the image, caption, and chosen hashtags into whichever scheduler you already use. If you’d rather not add a separate scheduler at all, FlowHunt’s own Instagram integration can publish photo posts, carousels, and reels straight from a flow. And if you want the flow to hand off directly to a dedicated scheduling platform, FlowHunt’s MCP servers connect to real third-party tools — the Metricool MCP Server, for instance, plugs into Metricool’s bulk scheduling across Instagram, Facebook, TikTok, and LinkedIn — which takes some flow setup but removes the copy-paste step entirely.
Tips for Getting More Varied and On-Brand Output
Write specific topics, not generic ones. A vague topic gives the engineered image prompt less to work with, and the output tends to default to generic choices when the input doesn’t give it much to go on.
Track the visual style note across your session. It’s the only record of what aesthetic you’ve already used. Check it before your next topic if you want intentional variety rather than accidental repetition.
Keep mindful of your brand voice, don’t just leave it up to the prompt. The tool will do it’s best to adhere to your brand notes, but may still default to generic or tone-deaf choices. Editing for brand voice is always worth it.
Pull topics from real conversations instead of guessing. FlowHunt’s AI Content Repurposing Tool
can turn an existing blog post into carousel-ready topics, so not every entry in your list has to be invented from scratch.
Yes, but it takes editing the flow rather than a toggle in the chat. Open the Instagram Post Generator's underlying flow in FlowHunt's visual builder and either edit the AI agent's prompt directly to permanently include your brand voice, or upload your brand guidelines as a Knowledge Source (Document) and instruct the agent to adhere to it. Either way, the voice then persists across every future session instead of resetting each time — it's custom setup work, done once, rather than a built-in setting.
Each run of the Instagram Post Generator takes one topic and returns one post. There's no single click that produces a full month across every pillar simultaneously. The way to cover multiple pillars in one sitting is to prepare a topic list that spans all of them before you start, then run each topic either one by one or as a batch action, so the pillar mix is a decision you make in planning rather than something the tool does automatically.
Not with this tool, since it works the other way around. You give it a topic, and it generates both the image and the caption together from an engineered prompt, rather than accepting an image and writing a caption to match. If you already have a photo and need a caption for it specifically, use FlowHunt's AI Image Caption Generator, which is built for just that.
The Instagram Post Generator itself doesn't have a built-in export list — its output is an image, caption, and hashtag set. From there you have three real options: copy that output into whichever scheduler you already use, publish directly through FlowHunt's own Instagram integration, or connect the flow to a dedicated scheduling platform via FlowHunt's MCP servers — the Metricool MCP Server, for example, connects to Metricool's own bulk content scheduling across Instagram, Facebook, TikTok, LinkedIn, and more, so a flow can hand off finished posts to a real external scheduler rather than requiring copy-paste.
The Instagram Post Generator doesn't monitor trends on its own, it only generates from whatever topic you give it. To find out what's actually trending or seasonal before you generate, run FlowHunt's AI Social Listening Tool on your brand or niche first, then feed the topics it surfaces into the Instagram Post Generator as your input, rather than guessing at what's currently relevant.
Generate Your First Month of Instagram Content
Open the Instagram Post Generator, list your topics, and see the full image, caption, and hashtag output for your first post in minutes.
How to Batch Create a Month of Instagram Content with AI
An AI Instagram post generator turns a month of captions, hashtags, and images into one batch session. Here's how to generate 30 Instagram posts in under two ho...
Discover the Instagram Post Generator on FlowHunt.io, a tool that simplifies creating visually appealing Instagram posts with automatic image, caption, and titl...
AI Instagram Post Generators Compared: FlowHunt vs Hootsuite vs Later vs Predis.ai
Looking for the best AI Instagram caption generator? We compared FlowHunt, Hootsuite, Later, and Predis.ai on caption quality, brand voice, hashtag output, and ...
6 min read
Instagram
Social Media
+3
Cookie Consent We use cookies to enhance your browsing experience and analyze our traffic. See our privacy policy.