



Blog Improver Agent
FlowHunt's Blog Improver Agent takes an existing blog post and transforms it into a more comprehensive, authoritative, and SEO-optimized article—filling gaps, u...
3 min read
AI
Content Writing
+4
FlowHunt Blog Content Improver tutorial covering the full workflow, from pasting your existing post to reviewing the rewritten draft and republishing it.
This FlowHunt Blog Content Improver tutorial walks you through a real first run of the Blog Improver Agent , from picking what post to focus on all the way to publishing the updated version.
For the reasoning behind why this beats a full rewrite, see how to improve existing blog posts with AI .
Not every post benefits equally from this process, so start with a candidate that has something to build on. Pick a evergreen post that’s been losing rank lately, one that’s stuck at search position 11-20, or one leaning on statistics that are a year or two old.
For a fuller breakdown of which post types benefit most, see 6 types of blog posts that need AI improvement most .
Once you’ve picked one, the preparation is simple. If it’s published, copy its live URL. If it isn’t public yet, have the raw text ready.

Start your free trial today and see results within days.
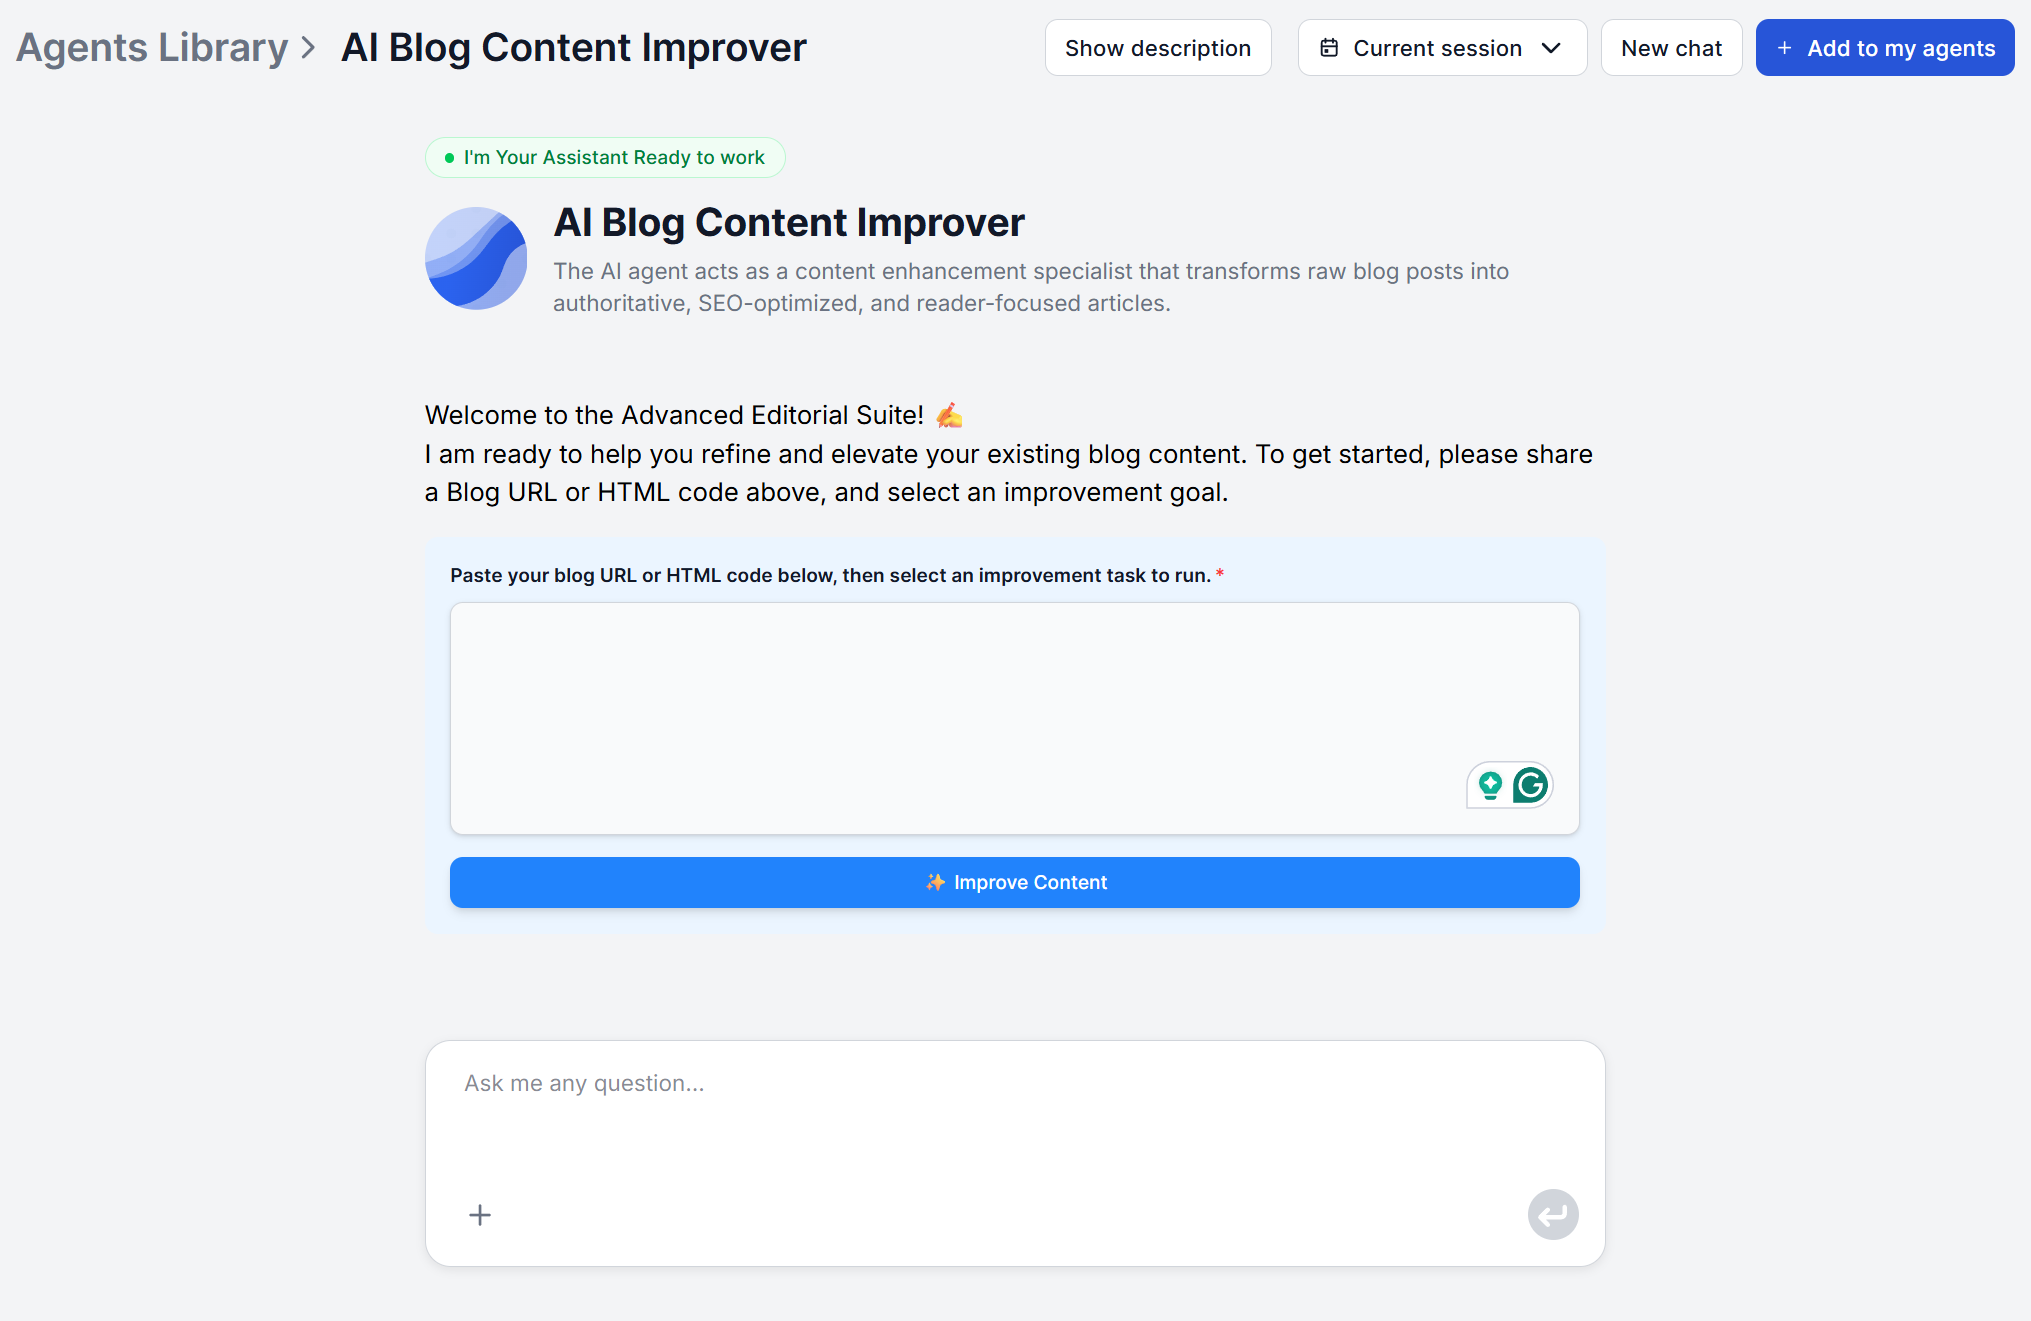
Open the Blog Improver Agent and paste the URL text into the form. This triggers the first stage of the agent’s process, Retrieval, where it fetches the full content of your post using its URL Retriever tool so the rest of the run has the complete original text to work from.
There’s nothing else to configure at this point. Submitting the input is what starts the run.
There’s no settings panel with toggles for SEO, depth, or readability. The agent runs its full process by default, addressing all of those areas in the same pass. For a first run, it’s worth leaving it at that. The default output shows you the baseline before you start narrowing.
If you do want to steer it, say, you already know one section needs more depth than the rest, or you want the SEO pass anchored to a specific keyword, send that as a follow-up chat message. For example: “Prioritize expanding the section on pricing, and make sure the keyword AI content optimizer appears naturally in the headings.” This is optional guidance layered on top of the default process, not a required configuration step.
Get latest tips, trends, and deals for free.
Once the run completes, the agent works through its remaining three stages automatically: Research & Verification (cross-referencing your post against Google Search results to catch outdated data and gaps), Enhancement (rewriting and expanding weak sections), and SEO & Formatting (optimizing headings, keyword usage, and metadata).
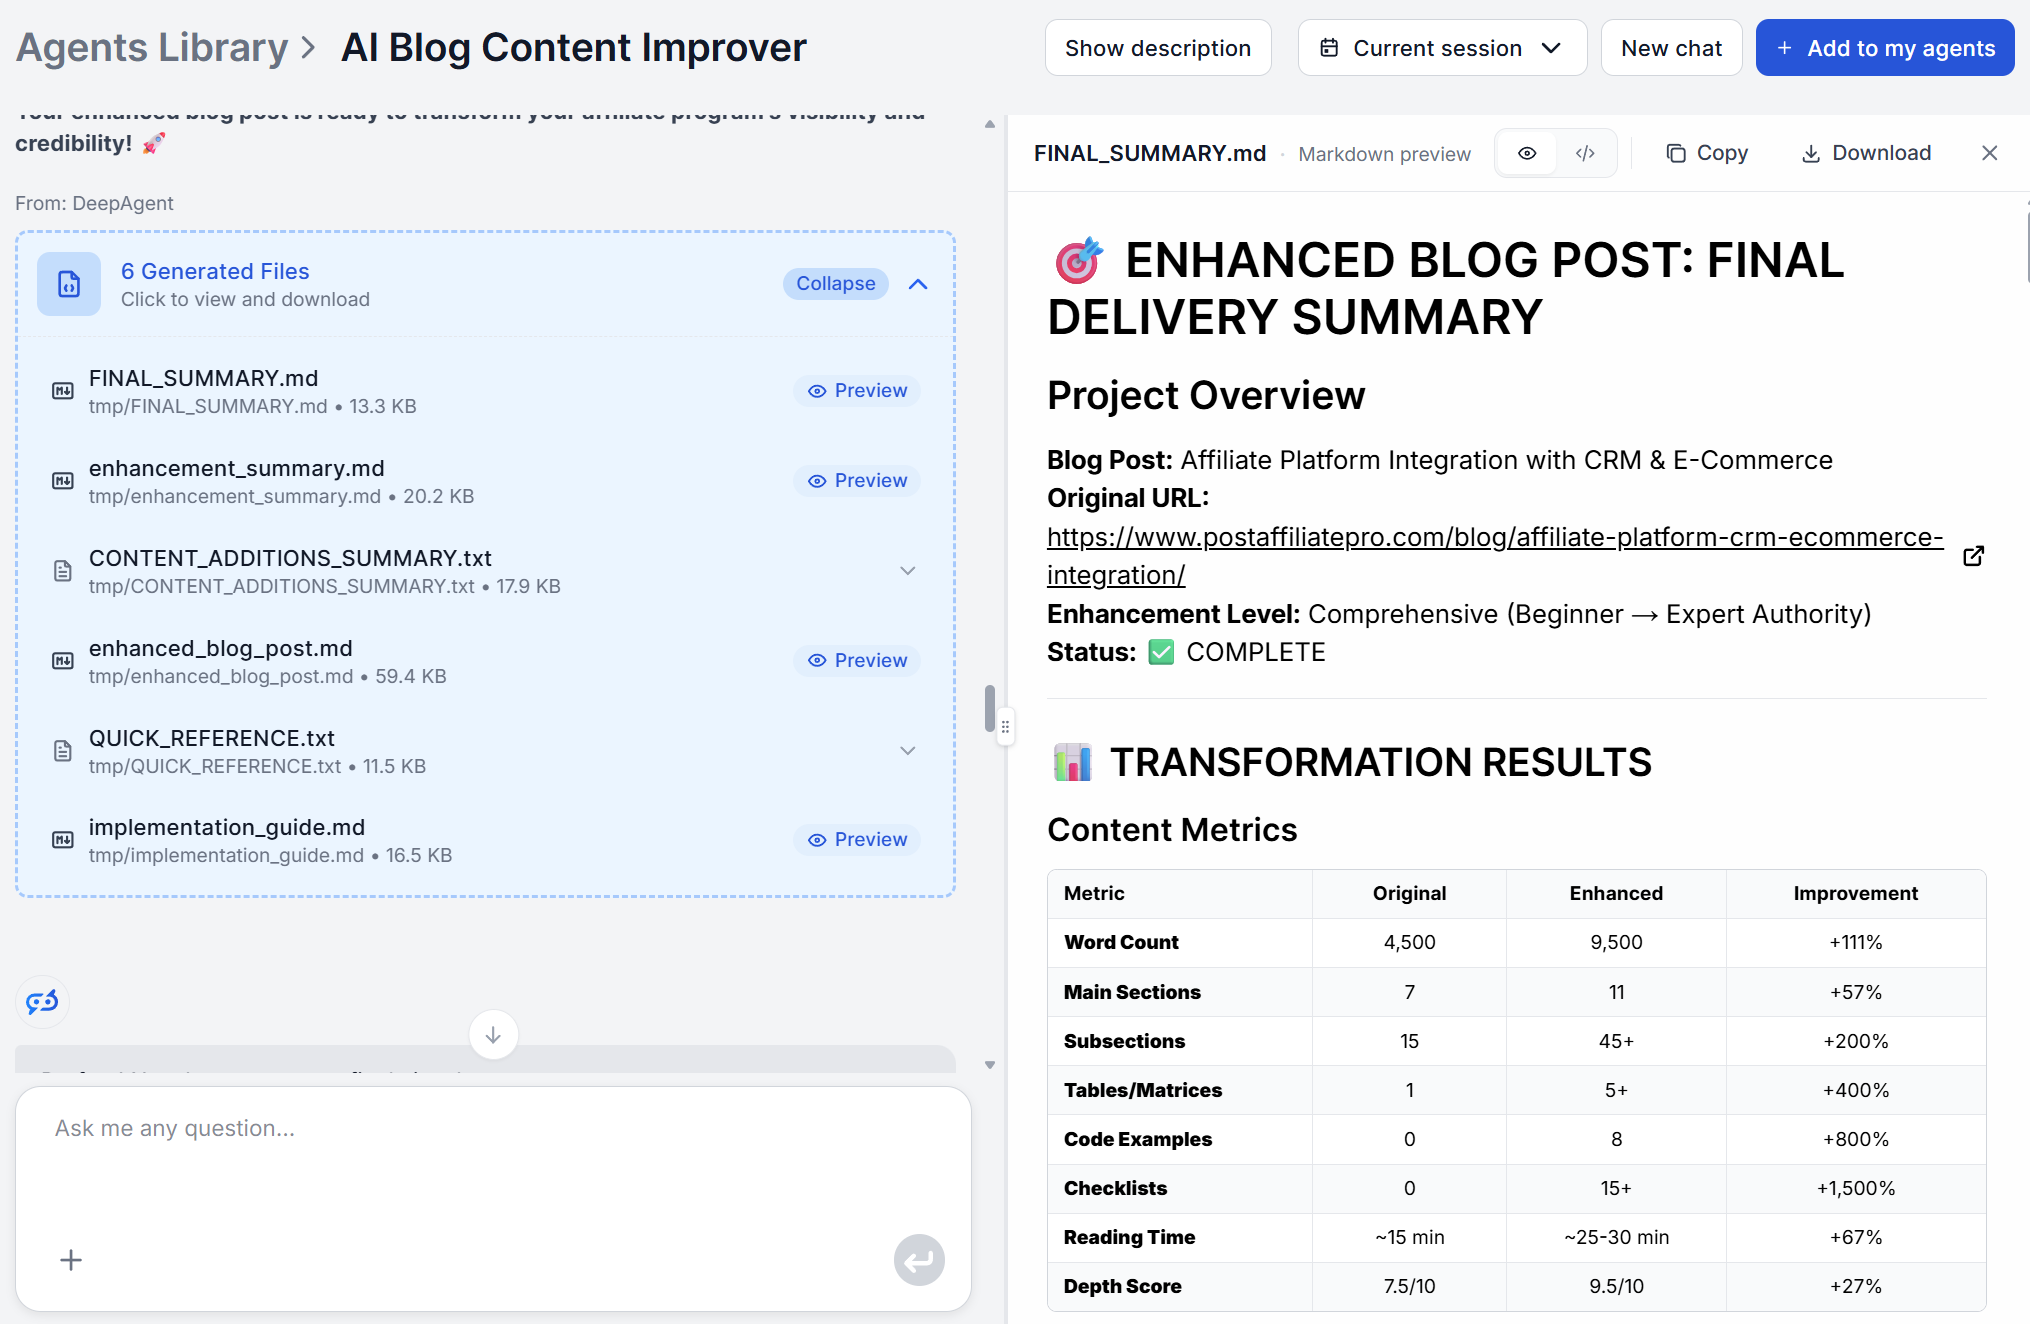
Read it in full before touching anything. Check specifically for the five things the agent is built to address, which is added context in sections that were thin, updated statistics and references, natural keyword and heading placement, tightened structure and flow, and cleaned-up metadata.
Because the output is a full document rather than an in-place edit, you’re in complete control of what makes it to publication. Go through it against your original and:
Once you’re happy with the reviewed draft, publish it under the same URL as the original. Keeping the URL is what preserves the backlink and indexing history that made improving the post worth doing in the first place. A new URL would mean starting that history over.
For getting the draft into your CMS, you have two options. You can either paste it in manually, or connect FlowHunt to your publishing stack. FlowHunt supports integrations like WordPress alongside MCP servers that can connect the finished draft to virtually any tool in your stack. Along with batch processing, this allows you to create a fully automated pipeline from improvement to published posts at scale.
Once you’ve published one improved post this way, the workflow doesn’t change for the next one — pick a candidate, paste it in, review, and republish. What scales is your review speed, not the tool’s. Browse more walkthroughs like this one in the academy .
FlowHunt's Blog Improver Agent retrieves your existing post, fact-checks it against live sources, and returns a fully rewritten, SEO-optimized draft in one run.
FlowHunt's Blog Improver Agent takes an existing blog post and transforms it into a more comprehensive, authoritative, and SEO-optimized article—filling gaps, u...

A step-by-step walkthrough of generating your first blog post with FlowHunt's Blog Content Agent, from entering your topic to publishing a fully optimized artic...

A practical guide to getting the best output from FlowHunt's AI Text Humanizer — which tone settings to use for different content types and a review process tha...
Cookie Consent
We use cookies to enhance your browsing experience and analyze our traffic. See our privacy policy.