
Writing a blog post manually takes 3–5 hours per post, and that assumes you’ve already done the research and know what to say. An AI blog content generator compresses the entire workflow by researching, outlining and creating a first draft in minutes. Here’s how the process works end-to-end, what the agent handles automatically, and the specific edits that determine whether the post actually ranks .
AI Blog Generator vs AI Writing Assistant: The Key Difference
Thik of the AI writing assistant as an AI-powered autocomplete. You start writing, it suggests or continues for you. You steer, restructure, and make all the editorial calls. Useful, but you’re still doing the research, building the structure, and staring at a blank document first.
On the other hand, an AI blog content generator only needs a topic and a keyword. It researches, outlines, and writes the full draft without neeeding you in the loop. The agent queries live sources, builds a structure based on what’s actually ranking, and produces a complete article in one run. You can then optionally review, augment and edit the final output.
An AI writing assistant saves you a lot of time, but the process still requires significant input from you. An automated blog writing tool removes most of that process. One is a faster typewriter, the other is a different model for content production. If you’re evaluating specific tools, the FlowHunt vs Jasper vs Writesonic comparison covers output quality and price across five AI blog writers.
How the FlowHunt Blog Content Agent Works
The FlowHunt Blog Content Agent runs on a deep AI agent that follows a structured three-phase process every time it generates an article. The result is 1,500+ words of substantive depth:
Phase 1 — Research. The agent uses live tools to search for the latest data, statistics, case studies, and technical insights related to your topic. It doesn’t rely solely on training data, which means the output reflects what’s actually being written about your topic right now, not what was true when the model was trained.
Phase 2 — Analysis. It synthesizes the gathered information into an advanced insights structure — identifying the core angles worth covering, the comparisons and tables that add value, and the gaps in existing content the article can fill.
Phase 3 — Execution. It writes the full article in clean, structured Markdown: a heading hierarchy (H1/H2/H3), analytical paragraphs, a comparative data table, Pro-Tip and Key Takeaway callouts, and a conclusion — ready to paste into any CMS.
Ready to grow your business?
Start your free trial today and see results within days.
Step 1: Set Your Topic, Target Keyword, and Audience
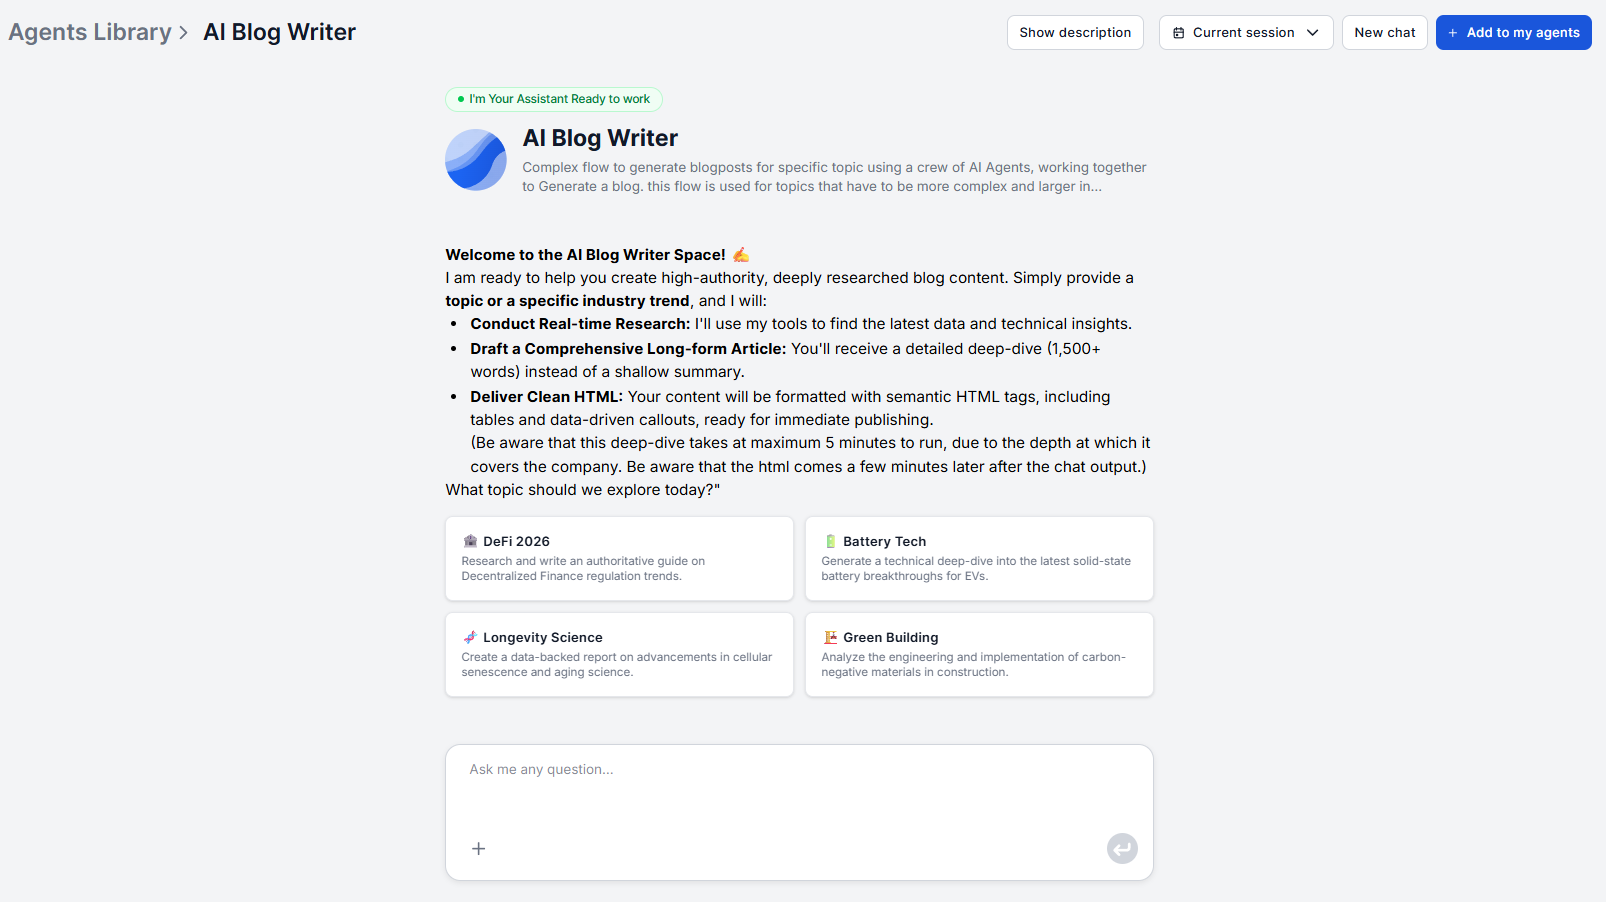
All the agent needs is a topic or an industry trend, and it takes care of the rest. You can run it as a chatbot, do batch processing or schedule it to run automatically. What you put in the prompt directly shapes what it researches, so it’s worth spending a minute getting the input right.
Be specific with the topic. “AI tools for marketers” is too broad and will produce a generic overview. “How to automate blog content creation with an AI agent” gives the agent a concrete angle to research. The narrower and more actionable the topic, the more targeted the output.
Include your target keyword. Mention the keyword you want the article to rank for. The agent uses it to guide heading placement, research direction, and content focus. If you’re not sure which keyword to target, the content brief generator can turn a broad subject into a keyword-anchored brief before you hand off to the blog agent.
Add audience context if relevant. A note like “written for SaaS marketers, not developers” helps the agent calibrate terminology and assumed knowledge. You don’t need to fill out a form — plain-language instructions in the prompt work fine.
Step 2: Review and Adjust the AI Outline
Because the agent runs in a chatbot interface, you can ask it to share the proposed outline before writing the full article. Prompt it with something like: “Give me the outline first. I’ll confirm before you write the full article.” This is the highest-leverage edit point in the workflow. Changing an outline takes two minutes, while restructuring a fully written 1,500-word draft takes twenty.
When reviewing the outline, look for three things:
Angle coverage. Does it include the perspective that distinguishes your brand from everyone writing the same article? If your company has a specific methodology or point of view, add it here before the agent writes.
Sequence logic. Is the reader’s journey from problem to solution clear? Research-generated outlines tend to reflect what’s common, not always what’s optimal. Reorder sections where the flow would be clearer.
Missing sections. What question does your reader have that the outline doesn’t answer? Add it before confirming.
If you want to explore the structure more deeply before running the full blog agent, the standalone blog outline generator is a useful pre-step for mapping out angles and section ordering.
Join our newsletter
Get latest tips, trends, and deals for free.
Step 3: Generate the Full Draft
With the outline confirmed, tell the agent to proceed. The output includes:
- 1,500+ words of substantive depth
- A structured heading hierarchy (H1 through H3)
- At least one comparative data table presenting methods, tools, or benchmarks side by side
- Pro-Tip and Key Takeaway callouts for scannability
- Evidence-based writing: real-world examples and current statistics from the research phase
The Markdown is clean and immediately paste-able into any CMS, documentation platform, or static site generator.
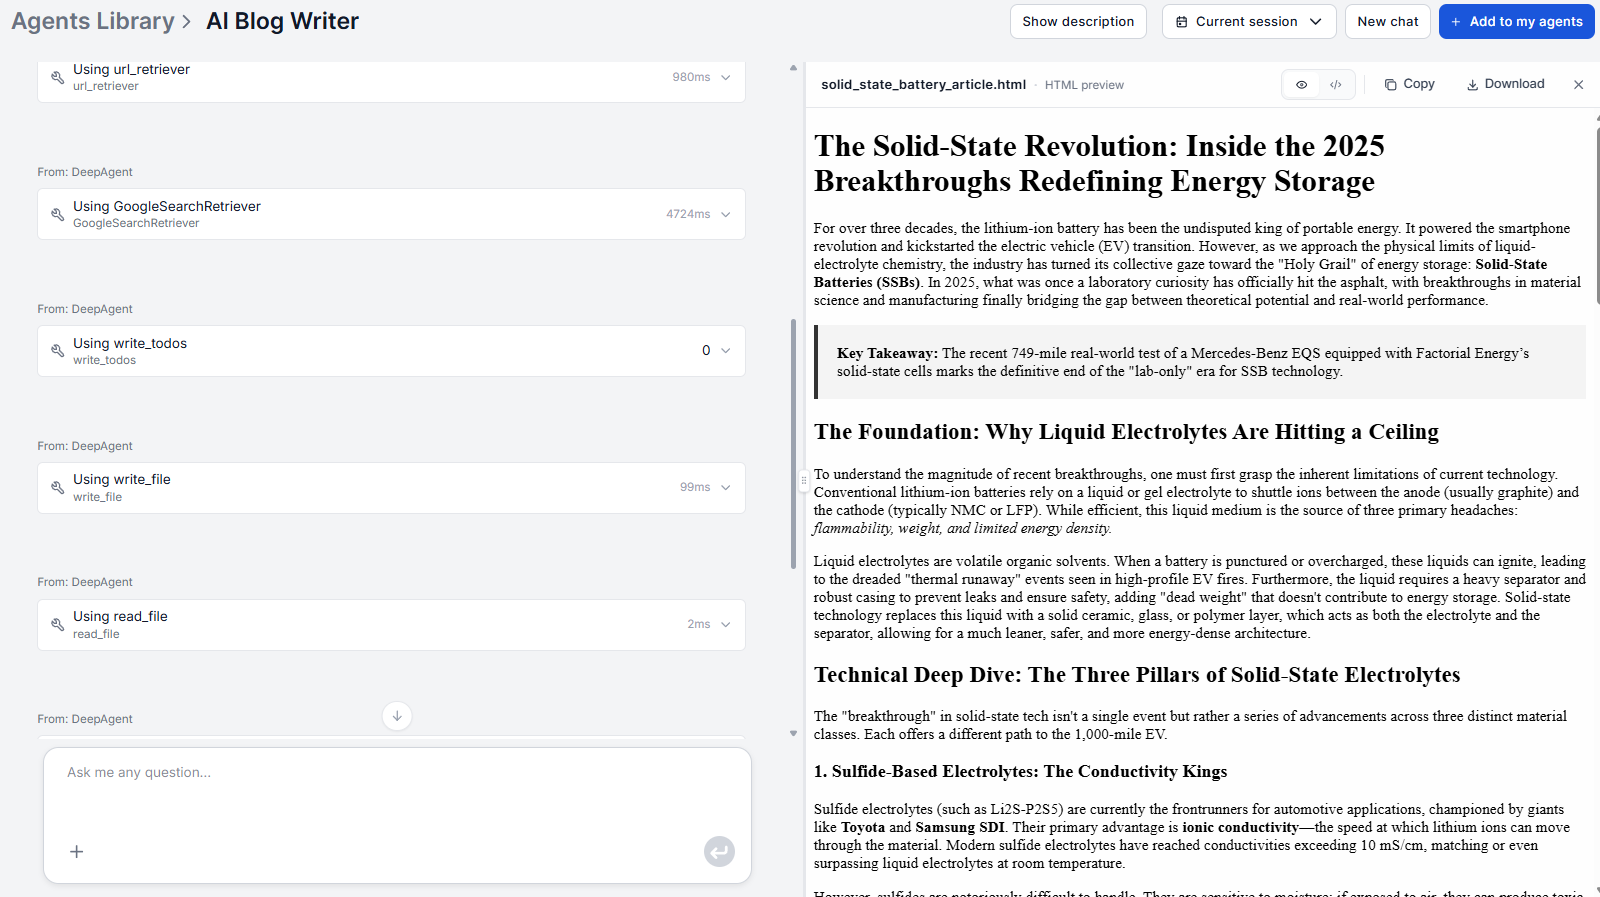
The live research phase means the draft will cite current examples and data, not only the state of the industry from the model’s training cutoff. For fast-moving topics like AI tools, technology, or market trends, this distinction is significant.
Step 4: The Pre-Publish Editing Checklist
The draft is a strong foundation, not a finished product. A 20–30 minute editing pass covers the difference. Here’s what to do before publishing.
Add internal links. The tool doesn’t know your site’s internal link structure out of the box. One way around is to simply go through the draft and link to relevant pages on your own domain. You can also get a list of links you want to create beforehand and feed it to the AI, or teach FlowHunt your exact website structure (e.g. through a Schema.org), and prompt it do it’s best creating internal links. Either way, internal linking is one of the highest-ROI on-page SEO actions and requires your judgment about which pages to connect.
Insert first-hand examples. Replace generic examples with specific cases from your own experience, your customers, or your product. These are the E-E-A-T signals (Experience, Expertise, Authoritativeness, Trustworthiness) that search engines weight and that AI cannot fabricate authentically.
Verify cited statistics. The agent pulls from live sources, but any specific number should be confirmed before publishing. A few minutes checking key data points protects against sourcing errors.
Check brand voice. Review for any phrasing that’s technically correct but doesn’t sound like your brand. One editing pass for tone is faster than rewriting.
Images and alt text. You can easily connect and set up the Photomatic AI component and get your articles full with generated images. If you want your own images or get better control over the generation, you’ll have to add them manually.
For older posts you’re looking to update, the Blog Content Improver takes the existing post via URL or HTML, fills content gaps, updates outdated data, and refines the structure — producing a fully revised, publication-ready version without starting from scratch.
SEO Optimization: What the Agent Does and What You Add
Understanding the boundary between what the agent handles and what needs your input prevents two common failures. On one hand is over-relying on the AI, on the second is the anxious and unnecessary duplication of effort.
What the agent handles automatically:
- Keyword placement in H1, H2s, and body paragraphs
- Content depth and topical comprehensiveness
- Heading hierarchy that search engines can parse
- A meta description draft (for your review)
- Internal structure that signals E-E-A-T through breadth and evidence
What you add:
- Site-specific internal links (essential, not optional)
- Author attribution and bio for E-E-A-T compliance
- Schema markup if your CMS doesn’t handle it automatically
- Image optimization (file size, WebP format, descriptive filenames)
- Page speed and Core Web Vitals — outside the content layer
For keyword research before you start, running a SERP analysis on your target keyword surfaces search intent, competitor angles, and content gaps in the top results, giving the agent better inputs and giving you a clearer benchmark for what the published article needs to beat.
If you’re evaluating which underlying model produces the best output for your particular content type, the best LLM for content writing comparison covers the practical differences between GPT-4, Claude, Llama, and others, all tested on actual content tasks.
Conclusion
The FlowHunt Blog Content Agent handles research, structure, and writing. Your job becomes the 20–30 minutes of editing that no AI can replace: the internal links, the first-hand examples, and the brand perspective that make an article worth reading rather than just worth indexing.
Try the Blog Content Agent and get your first SEO-ready draft in under five minutes.