



json2video MCP Server
The json2video MCP Server connects FlowHunt and AI agents to the json2video API for programmatic, structured video generation and status monitoring. It enables ...
4 min read
MCP Server
Video Generation
+4

Learn how to integrate Rendervid with AI agents using MCP (Model Context Protocol). Generate videos from natural language prompts with Claude Code, Cursor, Windsurf, and more. 11 MCP tools for rendering, validation, and template discovery.
Creating videos programmatically has traditionally required deep knowledge of video codecs, animation frameworks, and rendering pipelines. Rendervid eliminates this complexity by accepting JSON templates and outputting finished videos. When you combine this with AI agents that understand natural language, you get something powerful: the ability to describe a video in plain English and receive a rendered MP4 in return.
Rendervid bridges the gap between AI language models and video production. Instead of writing code, designing keyframes, or learning a video editor, you tell an AI agent what you want. The agent generates a valid JSON template , validates it, and renders the final output through Rendervid’s engine. The entire process happens in a single conversation.
This integration is built on the Model Context Protocol (MCP), an open standard that allows AI tools to interact with external services through a structured interface. Rendervid’s MCP server exposes 11 tools covering rendering, validation, template discovery, and documentation, giving AI agents everything they need to produce professional video content autonomously.
The Model Context Protocol is an open standard developed to give AI assistants structured access to external tools and data sources. Rather than relying on AI models to guess at API formats or generate code that calls REST endpoints, MCP provides a typed, discoverable interface that AI agents can query at runtime.
For video generation, MCP solves a critical problem: AI agents need to know what is possible before they can generate valid output. Without MCP, an AI model would need to be trained on Rendervid’s specific template format, know every available animation preset, and understand the constraints of each layer type. With MCP, the agent simply calls get_capabilities and receives a complete description of the system, including JSON schemas for every component.
list_examples to find a starting template, modifying it, calling validate_template to check it, and then calling render_video to produce the output. All in a single conversation turn.Rendervid’s MCP server exposes 11 tools organized into three categories: Rendering, Validation & Discovery, and Documentation. Each tool is designed to give AI agents maximum autonomy when generating video content.
These tools handle the actual production of video and image output from JSON templates.
render_videoGenerates a complete video file from a JSON template. This is the primary rendering tool for producing MP4, WebM, or MOV output.
Parameters:
template (object, required) – The complete JSON template defining scenes, layers, animations, and output settings.inputs (object, optional) – Key-value pairs for template variable substitution.output_format (string, optional) – Output format: mp4, webm, or mov. Defaults to mp4.Example usage by an AI agent:
{
  "tool": "render_video",
  "arguments": {
    "template": {
      "outputSettings": {
        "width": 1080,
        "height": 1920,
        "fps": 30,
        "duration": 10
      },
      "scenes": [
        {
          "duration": 10,
          "layers": [
            {
              "type": "text",
              "text": "Summer Sale - 50% Off",
              "fontSize": 72,
              "fontFamily": "Montserrat",
              "color": "#FFFFFF",
              "position": { "x": 540, "y": 960 },
              "animations": [
                {
                  "type": "fadeInUp",
                  "duration": 0.8,
                  "delay": 0.2
                }
              ]
            }
          ]
        }
      ]
    },
    "output_format": "mp4"
  }
}
Returns: A URL or file path to the rendered video file.
render_imageGenerates a single frame or still image from a JSON template. Useful for creating thumbnails, social media graphics, poster frames, and static marketing materials.
Parameters:
template (object, required) – The JSON template defining the image composition.inputs (object, optional) – Template variable substitution values.output_format (string, optional) – Output format: png, jpeg, or webp. Defaults to png.frame (number, optional) – Which frame to render (for extracting a specific moment from an animated template).When to use render_image vs render_video:
render_image for static output: thumbnails, banners, social media posts, presentation slides.render_video for anything with motion: animations, transitions, audio, video clips.start_render_asyncStarts an asynchronous render job for long-duration videos (typically over 30 seconds). Instead of waiting for the render to complete synchronously, this tool returns a job ID that you can poll with check_render_status.
Parameters:
template (object, required) – The complete JSON template.inputs (object, optional) – Template variable values.output_format (string, optional) – Desired output format.Returns: A job_id string that can be used with check_render_status and list_render_jobs.
When to use async rendering:
check_render_statusChecks the current status of an asynchronous render job started with start_render_async.
Parameters:
job_id (string, required) – The job ID returned by start_render_async.Returns: An object containing:
status – One of queued, rendering, completed, or failed.progress – A percentage (0-100) indicating render progress.output_url – The URL of the finished video (only present when status is completed).error – Error message if the job failed.Example polling workflow:
AI Agent:
1. start_render_async → job_id: "abc-123"
2. check_render_status("abc-123") → status: "rendering", progress: 35
3. check_render_status("abc-123") → status: "rendering", progress: 78
4. check_render_status("abc-123") → status: "completed", output_url: "https://..."
list_render_jobsLists all asynchronous rendering jobs, both active and completed. Useful for monitoring batch rendering operations or reviewing recent output.
Parameters:
status_filter (string, optional) – Filter by status: queued, rendering, completed, failed, or all. Defaults to all.limit (number, optional) – Maximum number of jobs to return.Returns: An array of job objects, each with job_id, status, progress, created_at, and output_url (if completed).
These tools help AI agents understand what Rendervid can do and verify that templates are correct before rendering.
validate_templateValidates a JSON template before rendering. This tool checks template structure, field types, value constraints, and even verifies that media URLs (images, videos, audio files) are accessible. Running validation before rendering prevents wasted time on templates that would fail during the render process.
Parameters:
template (object, required) – The JSON template to validate.check_urls (boolean, optional) – Whether to verify media URLs are accessible. Defaults to true.Returns: An object containing:
valid – Boolean indicating whether the template is valid.errors – Array of error objects with path, message, and severity for each issue found.warnings – Array of warning objects for non-critical issues (e.g., unused variables, very large dimensions).What validation catches:
duration)Example validation response:
{
  "valid": false,
  "errors": [
    {
      "path": "scenes[0].layers[2].src",
      "message": "URL returned HTTP 404: https://example.com/missing-image.png",
      "severity": "error"
    },
    {
      "path": "scenes[1].duration",
      "message": "Scene duration must be a positive number",
      "severity": "error"
    }
  ],
  "warnings": [
    {
      "path": "outputSettings.width",
      "message": "Width 7680 is very large and may result in slow rendering",
      "severity": "warning"
    }
  ]
}
get_capabilitiesReturns a comprehensive description of everything Rendervid can do. This is typically the first tool an AI agent calls when starting a video generation task. The response includes available layer types, animation presets, easing functions, filters, output formats, and their JSON schemas.
Parameters: None.
Returns: A structured object containing:
layerTypes – All available layer types (text, image, video, shape, audio, group, lottie, custom) with their JSON schemas and configurable properties.animations – All animation presets grouped by category (entrance, exit, emphasis, keyframe) with descriptions and configurable parameters.easingFunctions – All 30+ easing functions with descriptions and usage examples.filters – Available visual filters (blur, brightness, contrast, saturate, grayscale, sepia, etc.) with parameter ranges.outputFormats – Supported output formats for video and image rendering with their constraints.inputTypes – Template variable types and validation rules.sceneTransitions – All 17 scene transition types with their parameters.Why this tool is critical for AI agents:
The capabilities response is a self-describing API. An AI agent does not need to be pre-trained on Rendervid’s template format. It can call get_capabilities at runtime, receive the complete schema, and generate valid templates on its first attempt. When Rendervid adds new features, animations, or layer types, AI agents automatically gain access to them through this tool without any code changes.
get_exampleLoads a specific example template by name. AI agents use this to retrieve a working template as a starting point, then modify it to match the user’s requirements.
Parameters:
name (string, required) – The example template name (e.g., instagram-story, product-showcase, animated-bar-chart).Returns: The complete JSON template for the requested example, ready to render or modify.
Example:
AI Agent calls: get_example("instagram-story")
Returns: Complete 1080x1920 Instagram story template with text layers,
         background image, and entrance animations
list_examplesBrowses the full catalog of 50+ example templates organized by category. AI agents use this to find relevant starting templates for the user’s request.
Parameters:
category (string, optional) – Filter by category (e.g., social-media, marketing, data-visualization, typography, e-commerce).Returns: An array of example metadata objects, each with:
name – Template identifier for use with get_example.category – Template category.description – What the template creates.dimensions – Output width and height.duration – Template duration in seconds.These tools provide detailed reference documentation that AI agents can consult when constructing templates.
get_component_docsReturns detailed documentation for a specific component or layer type . Includes property descriptions, required vs optional fields, default values, and usage examples.
Parameters:
component (string, required) – The component/layer type name (e.g., text, image, video, shape, audio, group, lottie, custom, AnimatedLineChart, TypewriterEffect).Returns: Comprehensive documentation including:
get_animation_docsReturns the complete animation effects reference, including all entrance, exit, emphasis, and keyframe animation presets.
Parameters:
animation (string, optional) – Specific animation name to get detailed docs for (e.g., fadeInUp, bounceIn, slideOutLeft). If omitted, returns the full animation catalog.Returns: Animation documentation including:
get_component_defaultsReturns the default values and full JSON schema for a specific component type. AI agents use this to understand what a minimal valid component looks like and what properties they can override.
Parameters:
component (string, required) – The component/layer type name.Returns: A JSON object with:
defaults – Complete default values for every propertyschema – JSON Schema defining the component’s structure, types, and constraintsrequired – List of required propertiesExample response for a text layer:
{
  "defaults": {
    "type": "text",
    "text": "",
    "fontSize": 24,
    "fontFamily": "Arial",
    "color": "#000000",
    "fontWeight": "normal",
    "textAlign": "center",
    "position": { "x": 0, "y": 0 },
    "opacity": 1,
    "rotation": 0,
    "animations": []
  },
  "required": ["type", "text"],
  "schema": {
    "type": "object",
    "properties": {
      "text": { "type": "string", "description": "The text content to display" },
      "fontSize": { "type": "number", "minimum": 1, "maximum": 500 },
      "fontFamily": { "type": "string", "description": "Google Font name or system font" },
      "color": { "type": "string", "pattern": "^#[0-9a-fA-F]{6}$" }
    }
  }
}
get_easing_docsReturns the complete reference for all available easing functions. Easing functions control the acceleration curve of animations, determining whether they start slow, end slow, bounce, or follow an elastic curve.
Parameters:
easing (string, optional) – Specific easing function name for detailed documentation. If omitted, returns the full list.Returns: Documentation for each easing function including:
easeInOutCubic, easeOutBounce, spring)Connecting Rendervid to your AI tool requires adding the MCP server to your tool’s configuration. The setup process varies slightly between tools, but the core concept is the same: point your AI tool at Rendervid’s MCP server entry point.
Before configuring any AI tool, make sure you have:
git clone https://github.com/AceDZN/rendervid.git
cd rendervid
npm install
cd mcp
npm install
npm run build
# macOS
brew install ffmpeg

# Ubuntu/Debian
sudo apt install ffmpeg

# Windows (with Chocolatey)
choco install ffmpeg
Add the Rendervid MCP server to your Claude Desktop configuration file.
Configuration file location:
~/Library/Application Support/Claude/claude_desktop_config.json%APPDATA%\Claude\claude_desktop_config.json~/.config/Claude/claude_desktop_config.jsonConfiguration:
{
  "mcpServers": {
    "rendervid": {
      "command": "node",
      "args": ["/path/to/rendervid/mcp/build/index.js"],
      "env": {}
    }
  }
}
Replace /path/to/rendervid with the actual path to your Rendervid installation.
For Claude Code (CLI), add the same configuration to your project’s .claude/mcp.json file or your global Claude Code settings. Claude Code will automatically detect the MCP server and expose all 11 tools during your coding sessions.
After saving the configuration, restart Claude Desktop or Claude Code. You can verify the connection by asking Claude: “What Rendervid tools are available?” Claude should list all 11 MCP tools.
Add the Rendervid MCP server to Cursor’s MCP configuration.
Configuration file: .cursor/mcp.json in your project root (or global Cursor settings).
{
  "mcpServers": {
    "rendervid": {
      "command": "node",
      "args": ["/path/to/rendervid/mcp/build/index.js"]
    }
  }
}
After saving, restart Cursor. The Rendervid tools will be available in Cursor’s AI assistant, allowing you to generate videos directly from your editor.
Windsurf supports MCP servers through its AI configuration. Add the Rendervid server to your Windsurf MCP settings:
{
  "mcpServers": {
    "rendervid": {
      "command": "node",
      "args": ["/path/to/rendervid/mcp/build/index.js"]
    }
  }
}
Consult Windsurf’s documentation for the exact configuration file location, as it may vary by version and operating system.
Any tool that implements the MCP client specification can connect to Rendervid’s MCP server. The server communicates over stdio (standard input/output), which is the default MCP transport.
To integrate with a custom MCP client:
node /path/to/rendervid/mcp/build/index.js
tools/list to discover available tools.tools/call with the tool name and arguments to execute any tool.The MCP server is stateless. Each tool call is independent, and the server can handle concurrent requests from multiple clients.
The following examples show how AI agents use Rendervid’s MCP tools to go from a natural language prompt to a finished video.
User prompt: “Create a 10-second Instagram story promoting a summer sale with animated text and a gradient background”
AI agent workflow:
Step 1 – Discover capabilities:
The agent calls get_capabilities to learn about available layer types, animation presets, and output constraints. It discovers that text and shape layers are available, fadeInUp and scaleIn animations exist, and Instagram stories use 1080x1920 resolution.
Step 2 – Find a starting template:
The agent calls list_examples with category: "social-media" and finds an instagram-story template. It then calls get_example("instagram-story") to load the full template JSON.
Step 3 – Build the template:
Using the example as a reference, the agent constructs a custom template:
{
  "outputSettings": {
    "width": 1080,
    "height": 1920,
    "fps": 30,
    "duration": 10
  },
  "scenes": [
    {
      "duration": 10,
      "layers": [
        {
          "type": "shape",
          "shapeType": "rectangle",
          "width": 1080,
          "height": 1920,
          "gradient": {
            "type": "linear",
            "angle": 135,
            "stops": [
              { "color": "#FF6B35", "position": 0 },
              { "color": "#F72585", "position": 0.5 },
              { "color": "#7209B7", "position": 1 }
            ]
          }
        },
        {
          "type": "text",
          "text": "SUMMER SALE",
          "fontSize": 96,
          "fontFamily": "Montserrat",
          "fontWeight": "bold",
          "color": "#FFFFFF",
          "position": { "x": 540, "y": 700 },
          "animations": [
            { "type": "fadeInUp", "duration": 0.8, "delay": 0.3 }
          ]
        },
        {
          "type": "text",
          "text": "50% OFF EVERYTHING",
          "fontSize": 64,
          "fontFamily": "Montserrat",
          "color": "#FFE066",
          "position": { "x": 540, "y": 850 },
          "animations": [
            { "type": "fadeInUp", "duration": 0.8, "delay": 0.6 }
          ]
        },
        {
          "type": "text",
          "text": "Shop Now  \u2192",
          "fontSize": 48,
          "fontFamily": "Montserrat",
          "color": "#FFFFFF",
          "position": { "x": 540, "y": 1200 },
          "animations": [
            { "type": "scaleIn", "duration": 0.6, "delay": 1.2 }
          ]
        }
      ]
    }
  ]
}
Step 4 – Validate:
The agent calls validate_template with the template JSON. The response comes back as valid: true with no errors.
Step 5 – Render:
The agent calls render_video with the validated template and receives a URL to the finished MP4 file.
User prompt: “Generate a product showcase video for our new headphones. Use this product image: https://example.com/headphones.png . The product name is ‘SoundPro X1’ and the price is $299.”
AI agent workflow:
get_capabilities – Learns about image layers, text styling, and animation options.list_examples – Finds a product-showcase template in the e-commerce category.get_example("product-showcase") – Loads the complete product showcase template, which uses template variables
for product name, image, and price.inputs with the user’s product data:{
"inputs": {
"productName": "SoundPro X1",
"productImage": "https://example.com/headphones.png",
"price": "$299",
"tagline": "Premium Sound, Redefined"
}
}
validate_template – Verifies the template and confirms that https://example.com/headphones.png is accessible.render_video – Produces the final product showcase video.This workflow demonstrates how AI agents leverage template variables to create personalized content from reusable templates. The same product showcase template can generate hundreds of unique videos by swapping the inputs.
User prompt: “Create an animated bar chart showing quarterly revenue: Q1: $1.2M, Q2: $1.8M, Q3: $2.1M, Q4: $2.7M”
AI agent workflow:
get_capabilities – Discovers the custom layer type and the AnimatedLineChart built-in component
.get_component_docs("AnimatedLineChart") – Reads the documentation for the chart component, learning about data format, color configuration, axis labels, and animation options.get_component_defaults("AnimatedLineChart") – Gets the default values and JSON schema to understand the minimum required configuration.{
"type": "custom",
"component": "AnimatedLineChart",
"props": {
"data": [
{ "label": "Q1", "value": 1200000 },
{ "label": "Q2", "value": 1800000 },
{ "label": "Q3", "value": 2100000 },
{ "label": "Q4", "value": 2700000 }
],
"colors": ["#4361EE", "#3A0CA3", "#7209B7", "#F72585"],
"title": "Quarterly Revenue 2025",
"yAxisLabel": "Revenue (USD)",
"animationDuration": 2
}
}
validate_template – Confirms the template structure is correct.render_video – Generates the animated chart video.The get_capabilities tool is the cornerstone of Rendervid’s AI integration. It implements a self-describing API pattern, where the system tells AI agents exactly what it can do, what parameters are required, and what values are valid. This eliminates the need for AI models to memorize or be trained on Rendervid’s specific API.
When an AI agent calls get_capabilities, it receives a structured response covering every aspect of the rendering system:
Layer Types with JSON Schemas:
{
  "layerTypes": {
    "text": {
      "description": "Renders text with full styling control",
      "schema": {
        "properties": {
          "text": { "type": "string", "required": true },
          "fontSize": { "type": "number", "default": 24, "min": 1, "max": 500 },
          "fontFamily": { "type": "string", "default": "Arial" },
          "color": { "type": "string", "format": "hex-color" },
          "position": { "type": "object", "properties": { "x": {}, "y": {} } },
          "animations": { "type": "array", "items": { "$ref": "#/animations" } }
        }
      }
    },
    "image": { "..." : "..." },
    "video": { "..." : "..." },
    "shape": { "..." : "..." },
    "audio": { "..." : "..." },
    "group": { "..." : "..." },
    "lottie": { "..." : "..." },
    "custom": { "..." : "..." }
  }
}
Animation Presets:
The capabilities response lists every animation preset with its category, configurable parameters, and description. An AI agent receiving this data knows that fadeInUp is an entrance animation with duration, delay, and easing parameters, and that it moves the element upward while fading it in.
Easing Functions:
All 30+ easing functions are listed with descriptions, so the AI agent can select the right curve for each animation. For example, easeOutBounce is described as simulating a bouncing effect at the end of the animation, which the agent can recommend for playful or attention-grabbing content.
Filters and Effects:
Visual filters like blur, brightness, contrast, saturate, grayscale, and sepia are documented with their parameter ranges, letting the AI agent apply post-processing effects to any layer.
Traditional APIs require documentation that AI models may or may not have seen during training. A self-describing API provides documentation at runtime, ensuring the AI agent always has current, accurate information. When Rendervid adds a new animation preset or layer type, every connected AI agent immediately sees it through get_capabilities. No documentation updates, no retraining, no version mismatches.
Follow these guidelines to get the best results when using AI agents to generate Rendervid videos.
Call validate_template before every render. Rendering is computationally expensive, and validation is nearly instant. The validation tool catches issues that would cause a render to fail or produce unexpected output:
A typical AI workflow should always include validation as a step before calling render_video or render_image.
Instead of building templates from scratch, AI agents should use list_examples and get_example to find a relevant starting template. Example templates are tested and known to produce good output. Starting from an example and modifying it is faster and less error-prone than generating an entirely new template structure.
Recommended approach:
list_examples with a relevant categoryget_example for the closest matching templateWhen requesting videos from an AI agent, be specific about:
Video generation is iterative. After the first render, review the output and ask the AI agent to adjust specific elements:
The AI agent can modify the existing template and re-render without starting over, making iteration fast and efficient.
If you need multiple variations of the same video (different products, different languages, different data), ask the AI agent to create a template with variables
. This lets you render many videos from a single template by passing different inputs:
{
  "inputs": {
    "productName": "Running Shoes Pro",
    "productImage": "https://example.com/shoes.png",
    "price": "$149",
    "tagline": "Run Faster, Go Further"
  }
}
For videos longer than 30 seconds or templates with complex animations, use start_render_async instead of render_video. This prevents timeouts and allows the AI agent to perform other tasks while the video renders in the background.
Rendervid includes over 100 example templates spanning 32 categories, giving AI agents a rich library of starting points for any video generation task.
The template discovery workflow uses two tools in sequence:
list_examples – Browse the catalog with optional category filtering to find relevant templates.get_example – Load the full JSON template for a specific example.AI agents can filter examples by category to quickly find relevant starting points:
| Category | Description | Example Templates |
|---|---|---|
social-media | Platform-optimized content | Instagram story, TikTok video, YouTube thumbnail |
e-commerce | Product and sales content | Product showcase, flash sale, price comparison |
marketing | Promotional materials | Brand intro, testimonial, feature highlight |
data-visualization | Charts and infographics | Bar chart, line graph, pie chart, dashboard |
typography | Text-focused designs | Kinetic text, quote cards, title sequences |
education | Learning materials | Explainer video, step-by-step tutorial, diagram |
presentation | Slide-style content | Pitch deck slides, conference intro, keynote |
abstract | Visual effects and art | Particle systems, wave visualizations, gradients |
When a user asks for “an animated chart showing sales data,” the AI agent:
list_examples(category: "data-visualization") and receives a list of chart-related templates.animated-bar-chart as the best match based on the description.get_example("animated-bar-chart") to load the complete template.This discovery-first approach means AI agents consistently produce well-structured templates because they are building on tested examples rather than generating template JSON from scratch.
To see every available template, an AI agent can call list_examples without a category filter. The response includes metadata for all 100+ templates, allowing the agent to search across categories for the best match. Each entry includes the template name, category, description, dimensions, and duration, giving the agent enough information to make an informed selection.
Rendervid’s MCP server works with any tool that implements the Model Context Protocol client specification. The following tools have been tested and confirmed to work with Rendervid:
| AI Tool | Type | MCP Support | Configuration File |
|---|---|---|---|
| Claude Desktop | Desktop app | Native | claude_desktop_config.json |
| Claude Code | CLI | Native | .claude/mcp.json |
| Cursor | IDE | Native | .cursor/mcp.json |
| Windsurf | IDE | Native | MCP settings |
| Google Antigravite | Cloud IDE | Native | MCP settings |
Because MCP is an open standard, any future tool that adds MCP client support will automatically be compatible with Rendervid’s MCP server. No changes to the server or its tools are required.
The json2video MCP Server connects FlowHunt and AI agents to the json2video API for programmatic, structured video generation and status monitoring. It enables ...
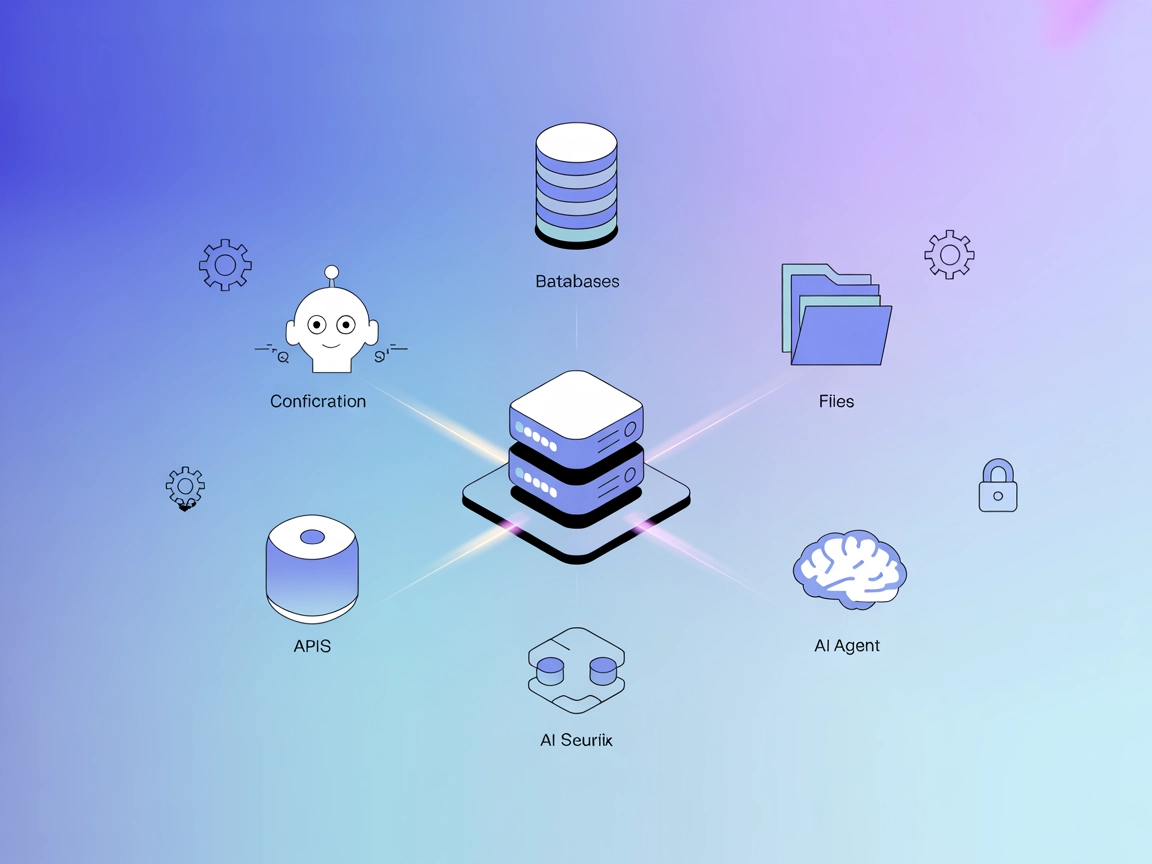
The ModelContextProtocol (MCP) Server acts as a bridge between AI agents and external data sources, APIs, and services, enabling FlowHunt users to build context...
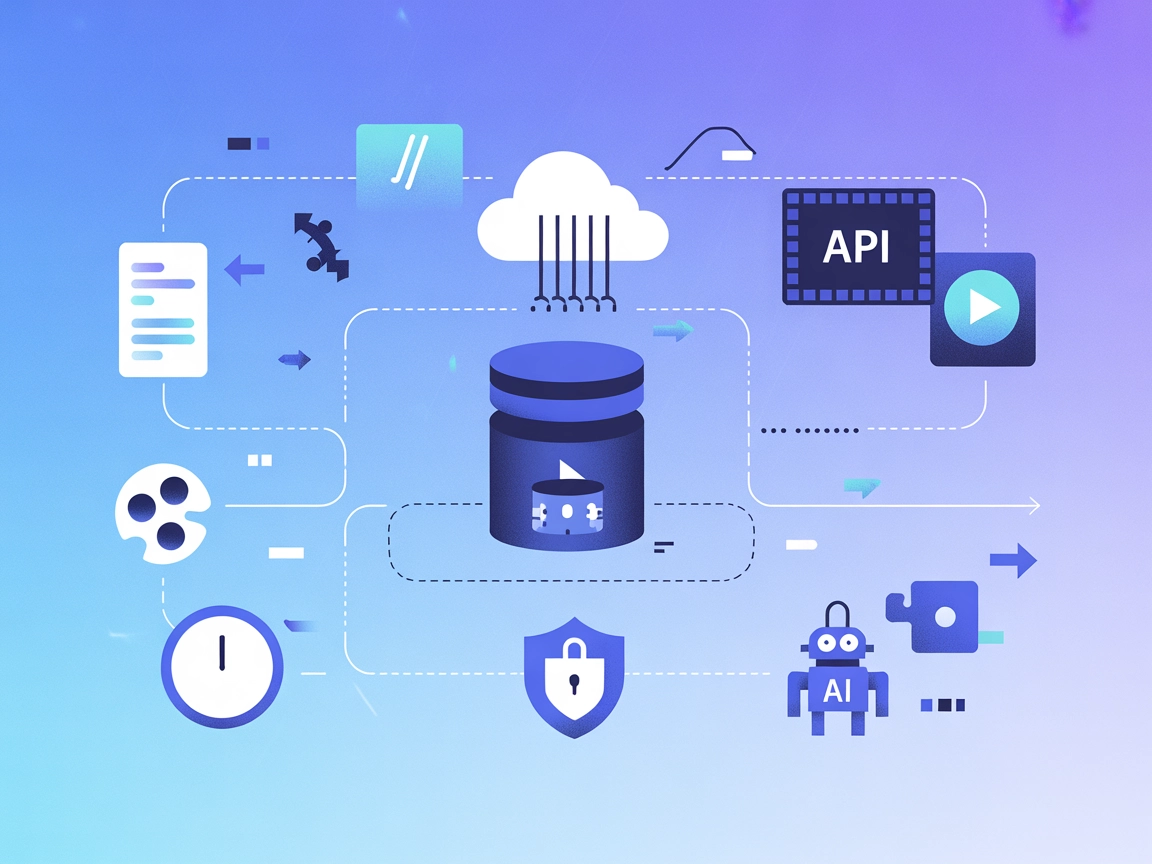
Integrate FlowHunt with the json2video-mcp server to automate programmatic video generation, manage custom templates, and connect video workflows to agents, LLM...
Cookie Consent
We use cookies to enhance your browsing experience and analyze our traffic. See our privacy policy.